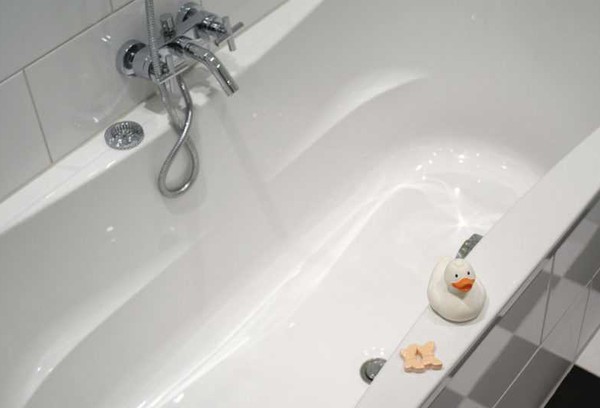
How to remove scratches on a cast iron or acrylic bathtub
During use, plumbing gradually loses its original appearance and damage appears on the surface. But restoring the coating and removing scratches on an acrylic/cast iron bathtub is much easier than it might seem at first glance. To do this, it is not at all necessary to resort to the services of professionals; you can carry out the repairs yourself. This article provides working methods for restoring the external coating, describes in detail the causes of damage and measures to help maintain the original appearance of the bathtub for as long as possible.
Causes of damage
Steel bathtubs with acrylic coating are almost as strong as cast iron bathtubs coated with enamel. But if the plumbing fixtures remain usable for quite a long time, then the appearance after 5-7 years is strikingly different from the original one.
The condition of the acrylic or enamel layer is influenced by the following factors:
- quality of coating materials;
- composition and degree of purification of tap water;
- operating conditions and proper care.
If there are no questions with the first two factors, then it is worth dwelling on the last one in more detail. So, the most common causes of damage due to improper care are:
- Surface treatment with aggressive detergents, cleaning powders with large abrasive particles.
- Use hard brushes and metal sponges when cleaning the bathtub.
- Sudden changes in water temperature when washing plumbing or its operation, when after very hot water ice is suddenly supplied, and vice versa. In this case, the enamel/acrylic layer quickly becomes cracked.
- Impacts on the surface, heavy objects falling into the bathtub.
- Draining household and food dyes into the tank, long-term soaking in the bathtub of heavily shedding items that stain the water, and, accordingly, the walls of the tank in the part with which it comes into contact.
Advice. To ensure that the bathtub retains its original appearance longer, you should choose models made of metal at least 4 mm thick. In this case, the risk of damage is slightly lower.
Types of damage
The following types of damage are typical for plumbing fixtures with acrylic/enamel coating:
- Yellowing and permanent stains. The enamel turns yellow due to low-quality, poorly purified tap water. And stains most often form at the sites of microcracks - dirt penetrates into them, and it is almost impossible to remove it from damaged areas using conventional detergents.
- Cracks. They appear due to sudden changes in water temperature and the use of aggressive cleaning agents, especially those containing acids.
- Scratches. They occur when the tank is cleaned with hard brushes, metal sponges or powders with large particles.
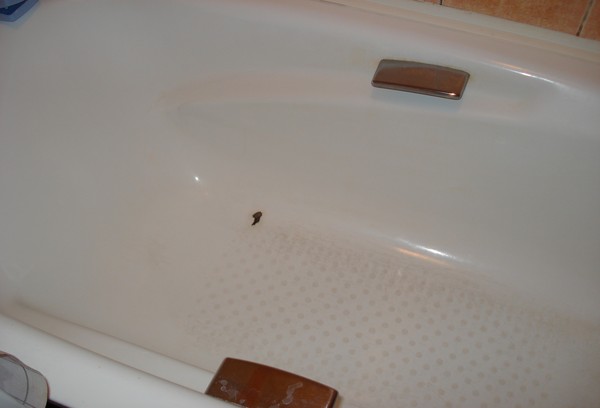
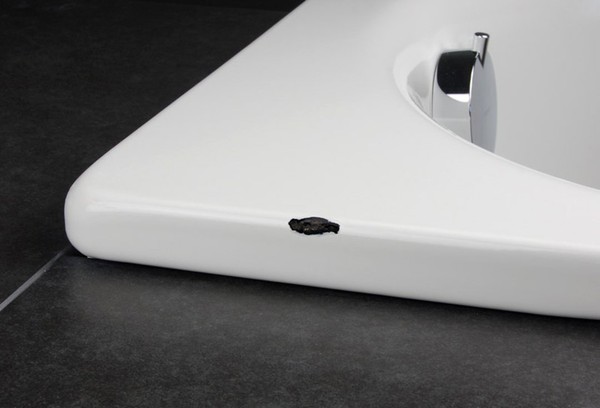
- Chips. Micro-chips of enamel or acrylic form in areas of large scratches when the coating first delaminates, and over time “comes off” completely in this area. Larger damage of this type can occur due to impacts on the surface, pinpoint falls of heavy objects or objects with sharp edges.
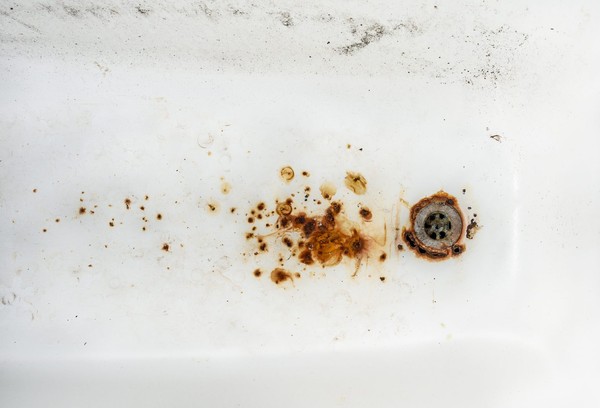
- Rust. Typically, brown spots form around metal fittings (for example, near the drain hole).
If the listed defects appear, you need to start “rescuing” the plumbing as soon as possible. Repairing newly formed damage is much easier than old damage. In addition, cracks and chips that violate the integrity of the enamel lead to its gradual destruction.
Removing scratches
Repair methods, choice of products and nuances of coating preparation depend on what type of bathroom we are talking about. Below are instructions for repairing damage to cast iron and acrylic tanks.
Cast iron bath
Before you begin to restore the coating, it needs to be prepared. The process consists of the following steps:
- Cleaning the damaged area. To do this, use special products designed for washing plumbing fixtures, for example, “Chistin Sanitarny”. You can also use regular soda. And if rust is present, the surface is treated with oxalic acid or another composition that can quickly dissolve it.
- Removing detergent. As a rule, cleaning compounds are left on the surface for no more than 15 minutes (the exact exposure time can be found in the attached instructions). After this, you need to thoroughly rinse the treated area with water.
- Drying the surface. Simply wiping the coating is not enough; you need to use a hair dryer, either a hair dryer or a household hair dryer, to completely remove the moisture.
How to remove defects and which repair method to choose depends on the type of damage. So, you can remove shallow scratches from a bathtub as follows:
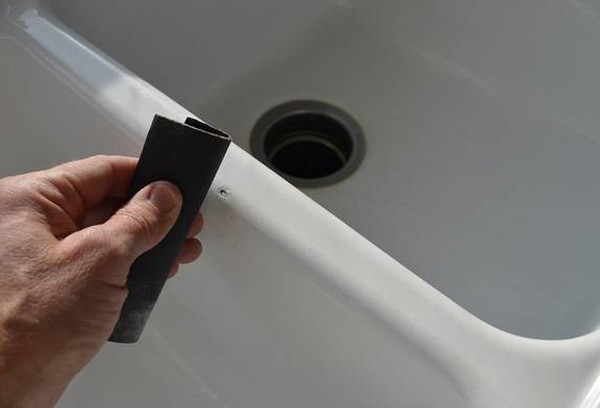
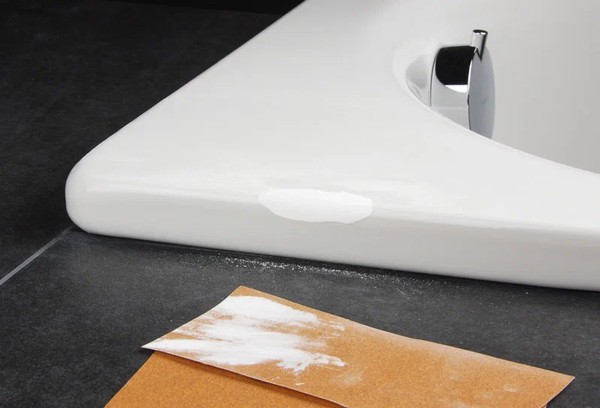
- Treat the prepared surface with fine-grained sandpaper or a screwdriver with an abrasive wheel at minimum speed. At this stage, the coating must be wet, otherwise cracks will form.Experts recommend adding water in a thin stream while sanding.
- When the area becomes smooth, wipe and degrease it with acetone or any suitable solvent.
- Apply a grainy, finely abrasive polish, such as WILLSON and RUNWAY. It must be distributed first vertically, then horizontally, until a smooth surface is obtained.
- Finish the area with a car polish and wax, such as Golden Wax. Such compositions have water-repellent properties and give the surface a glossy shine.
- Wash the restored area with soapy water or a non-aggressive plumbing cleaner.
You can repair chips or other deep damage (large scratches, large cracks) using one of the following means:
- Epoxy resin and porcelain. Apply a layer of resin to a cleaned, sanded and degreased surface and sprinkle with porcelain chips. To obtain the latter, you can use fragments of a cup or plate, the main thing is that the color matches the shade of the enamel. If the damage is too deep and the coating is not even, repeat the procedure after 2-3 hours until the depression is filled and the surface is level. After drying, sand the “patch” with fine-grained sandpaper.
- Glue BF-2. This product creates a durable, elastic and damage-resistant layer. To repair the damage, you will need to mix the glue with dry whitewash, chalk or tooth powder to obtain a paste-like mass and apply it to the prepared surface. After a day, you can polish the restored area. If one layer is not enough, after complete drying you need to apply a second one.When applying a multi-level “patch”, sanding can begin no earlier than 72 hours later.
- Automotive putty. Waterproof compounds NOVOL Fiber, Body Soft, etc. are suitable for bath renovation. The product will need to be distributed over the prepared area using a plastic or rubber spatula, leaving no voids. When the first layer has dried, you need to apply a second one, and after it has completely hardened, treat the “patch” with fine-grained sandpaper.
- Enamel for restoration. This product can be purchased at any plumbing store. The enamel should be applied to the chip in a thin layer, and after 4 hours the procedure should be repeated. You can use the bath after a day. The same principle applies to special repair kits for cast iron bathtubs.
The listed methods are advisable to use in cases where the damage is not too extensive. But if the bathtub is covered with multiple cracks and chips, it is better to do a full painting.
Acrylic bath
To restore an acrylic bathtub from scratches and chips, you must first carry out preliminary preparation:
- Rinse the surface with warm water.
- Apply soap foam and leave for 10 minutes.
- Wash off the composition and degrease the damaged area with alcohol, then wipe dry or dry with a hairdryer.
Next, use one of the remedies suggested below, depending on the nature of the damage:
- Cramer touch-up corrector for filling small scratches and cracks. You need to sand the surface with sandpaper with grit No. 1200, and then use paper No. 2500. Then apply plastic polish, wipe with a rag and apply a repair compound. After 24 hours, sand again with coarse sandpaper and use polish.
- Special repair composition for repairing scratches or small chips up to 2 mm deep. The area must be polished with sandpaper No. 1200, remove dust and degrease with alcohol. Then apply the composition according to the instructions, after drying, repeat polishing, but with sandpaper No. 2500.
- Kit for sealing through cracks. After treating the damaged area, you need to drill 2 holes of the same depth as the crack, so that they are located on both sides - this is necessary to create a zone of uniform pressure. Then you will need to degrease the area and cover the damage with the composition from the repair kit, and after a day, sand it and, if necessary, apply car polish.
- Repair kit for sealing through holes. Includes fiberglass sheet, two-part resin and polishing paste. A piece of fiberglass cut with a small allowance (10-15 mm) is placed on the treated surface on the outside of the bath, which must be coated with resin. After 3 hours, you need to repeat the procedure, and then, after another 3 hours, cover the patch with resin again. Then, when the mixture has dried, treat the inner surface with resin using the same principle, dry it and sand it with sandpaper No. 2500.
As in the case of a cast-iron bathtub, the listed methods are only suitable for repairing small-area damage.
Tips for proper use of the bathtub
It's easier to prevent damage how to cover a scratch or paint over crack. It is not difficult to maintain the aesthetic appearance of the bath if you follow the following rules:
- use gels and powders without large particles to clean the tank;
- Do not clean plumbing fixtures with hard brushes or wire sponges;
- do not use products unsuitable for this type of coating to remove dirt and rust;
- protect the coating from impacts and heavy objects;
- do not soak heavily faded laundry in the bath;
- avoid sudden changes in water temperature when operating the tank;
- When bathing pets, place a mat on the bottom so that the pet does not damage the coating with its claws.
And, of course, the bathtub needs to be cleaned in a timely manner. After all, the cause of darkening of the enamel/acrylic coating is often ordinary dirt, which, in the absence of proper care of the plumbing fixtures, literally eats into the coating.
