Secrets of builders: how not to lose nails when working with a hammer. Tool modification options
We can endlessly talk about many things, including how not to lose nails when working with a hammer: refining a tool requires ingenuity and a little creativity. Minimal engineering skills will not be superfluous.
My husband told me about all the life hacks and secrets. During the renovation at the dacha, he tried everything to make the work easier! I couldn’t even imagine that with the most ordinary tandem – a hammer and nails – you could come up with so many interesting things.
How to avoid losing nails when working with a hammer
I know that many (more precisely, the vast majority) prefer to store all small things in drawers and special compartments. Yes, this is a great way for storage, but what if the work is carried out in another room or outdoors? You won’t always carry a suitcase with you if you need a couple or three nails.
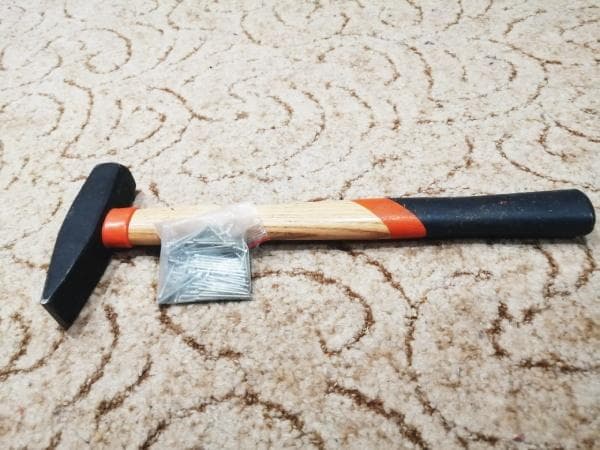
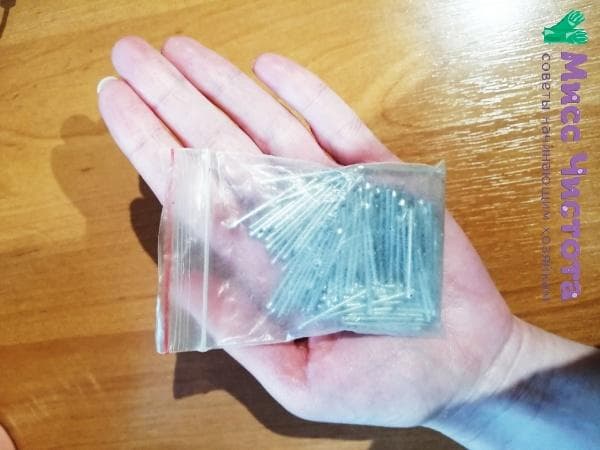
So one of the simplest tips is to use a zip lock bag!
It is very comfortable:
- Packages are available in different sizes. It will accommodate nails, screws and other fastening accessories of any size.
These bags can be put in your pocket. - The clasp is quite strong - nothing spills. At the same time, it opens easily: convenient for hard work.
- If just a bag is not your option, you can modernize the storage method and make it part of the hammer itself, attaching it to the barrel.
This can be done using double-sided tape.It turns out to be such a pocket.
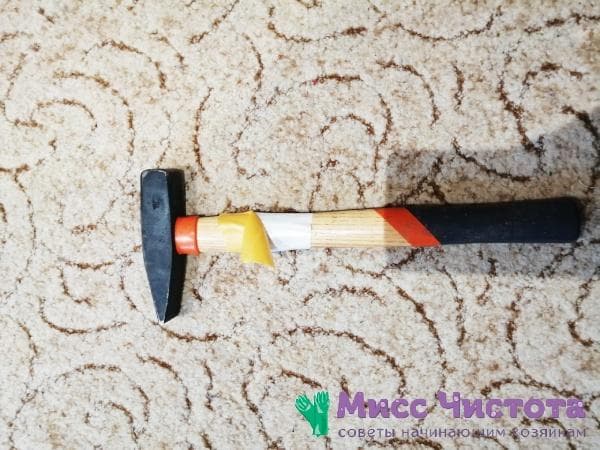
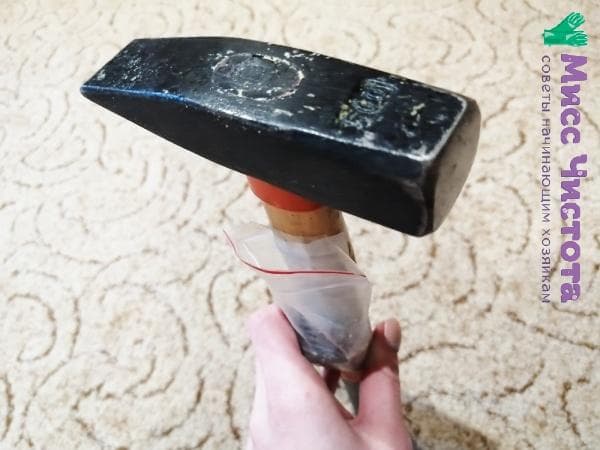
This fastening method is convenient because during operation you can adjust the position of the bag or remove it completely.
An obvious disadvantage: there is no direct access to the content. those. This is a good option for not losing nails during transportation, for example. But it is in the process of work that it is problematic to use.
Attaching nails to a hammer
If you do not use additional devices, you can carefully attach the nails themselves to the handle. There is an interesting, but not entirely practical way using double-sided tape.
This is a “one-time option” that is unlikely to be suitable for large nails, but for small ones it is quite suitable! Carnations are easily glued to a sticky surface. After work, the tape can be easily removed without leaving marks on the wood.
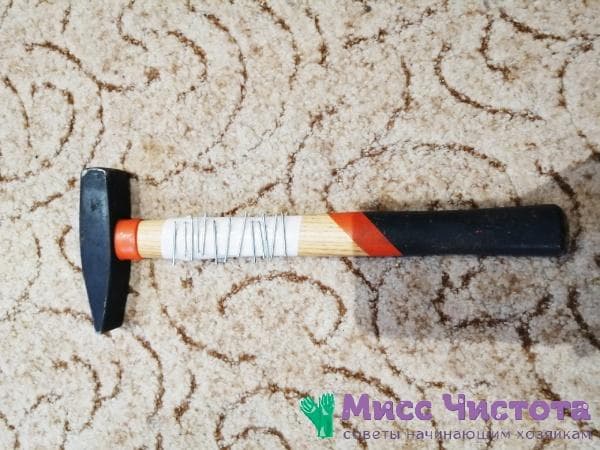
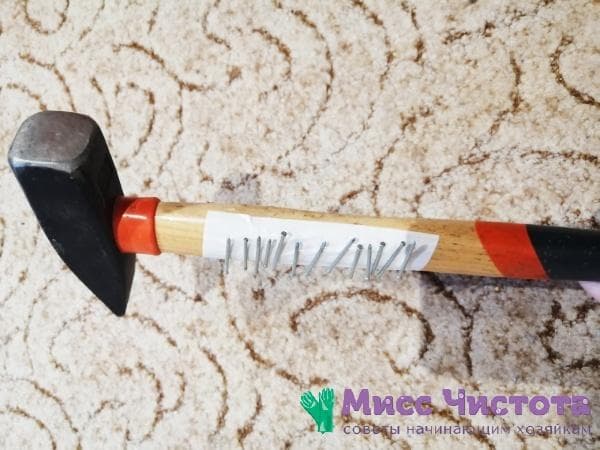
The second option is the most common - using rubber bands. In practice, this is one of the simplest and fastest ways to upgrade a hammer using improvised means.
A hammer with rubber bands looks like this:
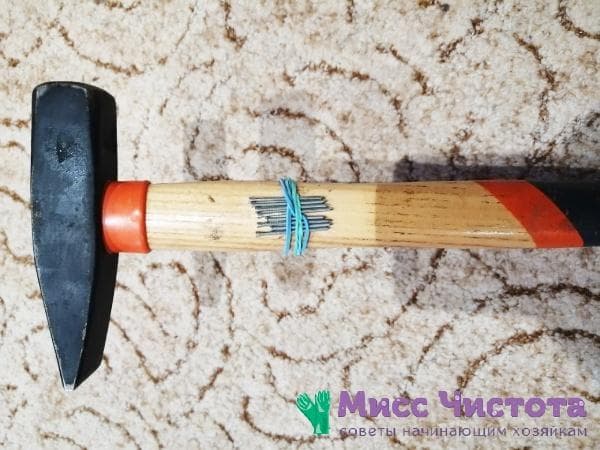
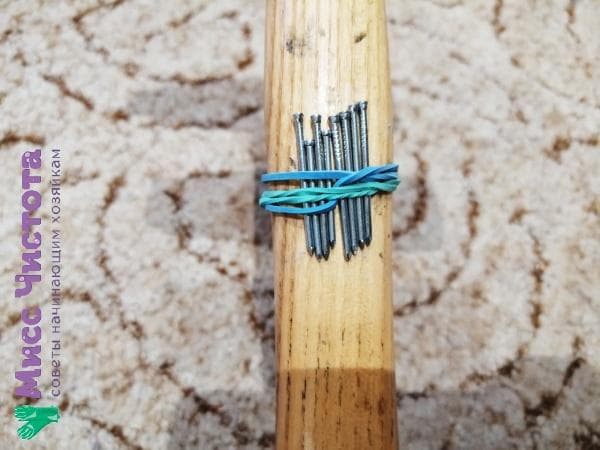
Please note: with this fastening method, the nails must be the same size. The whole reason lies in the tightness of the elastic band. Having a few larger nails will cause the elastic to not fit snugly with the others, which can lead to loss.
Alternative options
I also want to share an alternative way to preserve nails: using a magnet!
It can be attached to the handle (some people make an indentation on the edge of the wooden part and glue a magnetic washer). Another good option is to buy a bracelet with a magnet.
You can make such a construction “accessory” yourself or purchase it in a store. Based on the reviews, this is a very convenient option.
Results
A few points to pay attention to:
- The photo shows a hammer with a relatively thin handle. Attaching large nails to it is not a good idea as they may get in the way.
- Also, taking into account the features of the listed methods, some of the fasteners may “lose” the nails during very hard work with a hammer.
- It is important to make sure that the fastening will not interfere!
Well, and the most important thing: everything is individual! Safety is paramount in construction work. Therefore, you need to choose the method that will be convenient and safest.