We grout according to all the rules: how to apply grout to the tiles yourself so that it lasts for years
Content:
After laying the tiles, you want to quickly evaluate the result of the work. But first you need to bring it to its logical conclusion. You also need to grout the seams on the tiles correctly. The process won't take much time if you approach it wisely. And the result will certainly please you: perfect seams will highlight the beauty of the walls (floor), and will not leave a chance for fungus.
About the timing: after how many days can the seams be grouted?
Grouting joints immediately after laying tiles is one of the most common mistakes. The most offensive thing is that even experienced “master” tilers allow it. And they do it consciously.
According to the rules, you can grout the seams on the tiles no earlier than 24 hours after laying them.
Rarely will a tiler return to the customer on the second day just to grout the seams. It's much easier to submit your work right away. As a result, the grout cracks over time.
This happens for one simple reason:
While the tile adhesive has not dried, the tile moves (by fractions of a mm).
The seams, being on the surface, dry out and harden faster.As a result of the displacement of the tiles, microcracks form in the grout, which increase over time and turn into full-fledged cracks.
If the tile adhesive is applied in a generous layer and the room is cool (temperature below -18 degrees), drying may take longer. Conversely, if the glue layer is thin, it will harden faster. 24 hours is an average. The waiting time in different cases can range from 8 hours to 2-3 days.
Stage No. 1: preparatory
There is no need to wait idly while the tile adhesive dries.
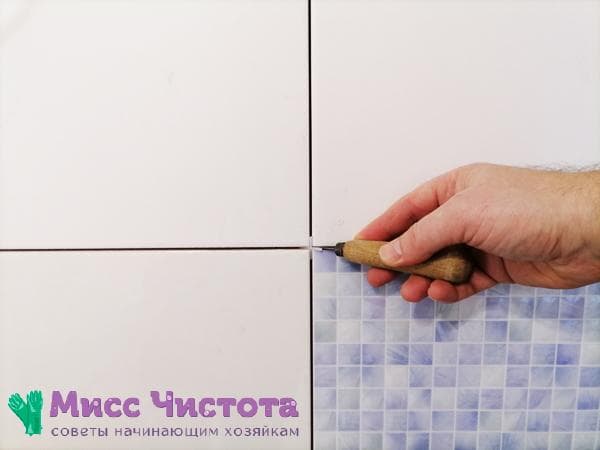
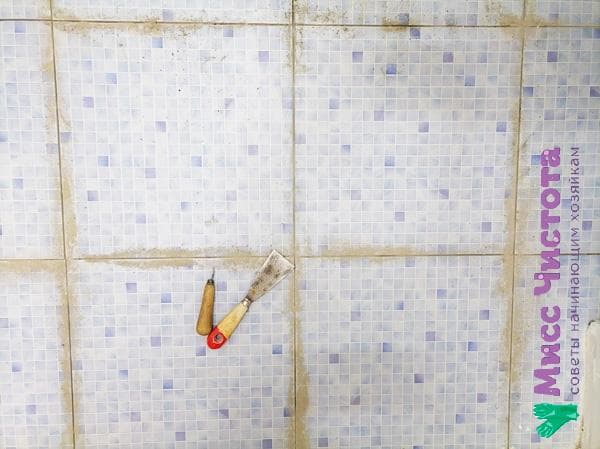
6-8 hours after laying the tiles, remove excess adhesive from the joints. The glue can fill them no more than one third. It is better to clean the rest before the composition has completely hardened.
To do this, use a wooden stick. A jointing knife or other sharp object may scratch the surface. A jointing knife will come in handy if the glue has already hardened.
Preparing the wall (floor)
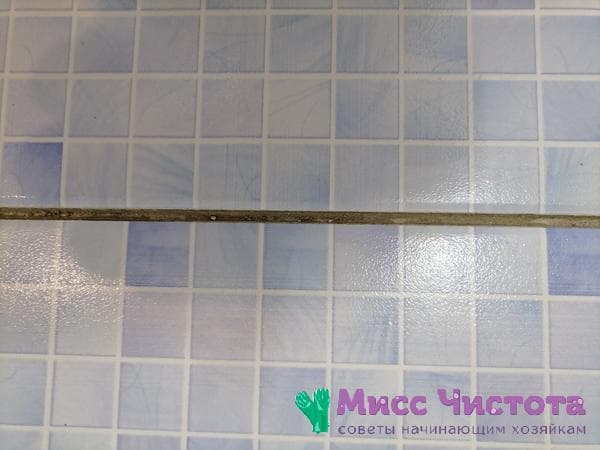
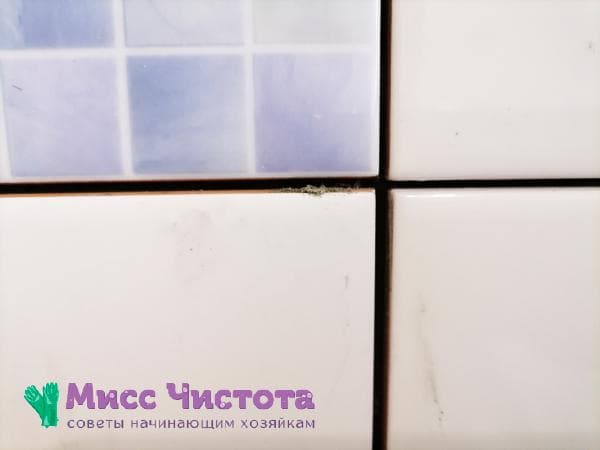
During the renovation process, dust and small debris gets into the cracks between the tiles. Obviously, leaving dirt inside the seams is unacceptable. Just like crosses. The latter are removed as soon as the tile adhesive has completely stabilized. If you grout on top, the seam will turn out lumpy and uneven in color.
The wall (floor) is prepared as follows:
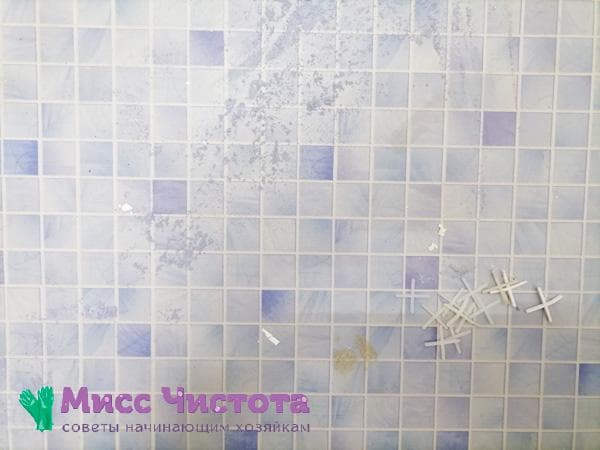
- The crosses at the joints are removed.
- Excess glue is removed.
- The space between the tiles is cleaned with a hard brush or brush (an old toothbrush can be used).
- Remaining dust is collected with a vacuum cleaner.
- The surface is washed with water and a cloth. You can simply water the wall in the bathroom with water (make a shower).
- The seams are dried.
- It is recommended to cover the perimeter of ceramic tiles (and any other porous ones) with tape. The grout may leave stains on it.Ceramic tiles are usually more durable in this regard.
You should not neglect preparation. Without proper cleaning, the grout can be affected by fungus, sag and quickly deteriorate.
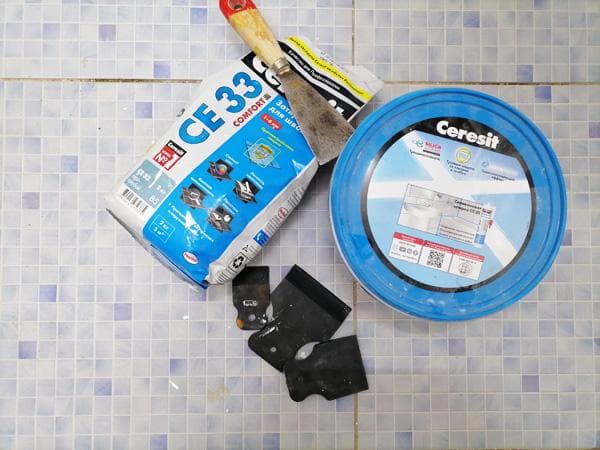
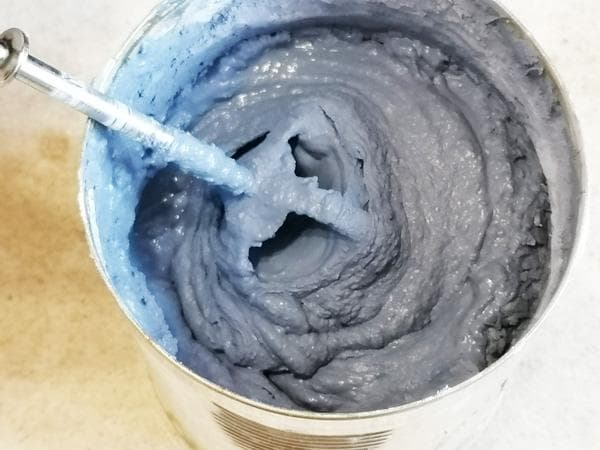
Preparing the grout mixture
Grouting joints can be done with different mixtures. They are usually a dry powder that is diluted with water, a special liquid or a hardener if the grout is epoxy.
For reference.
Epoxy grout is considered one of the most durable. It is moisture resistant, not afraid of germs and mold. But it is more difficult to apply due to its increased viscosity. Before choosing one or another composition, you need to familiarize yourself with its features.
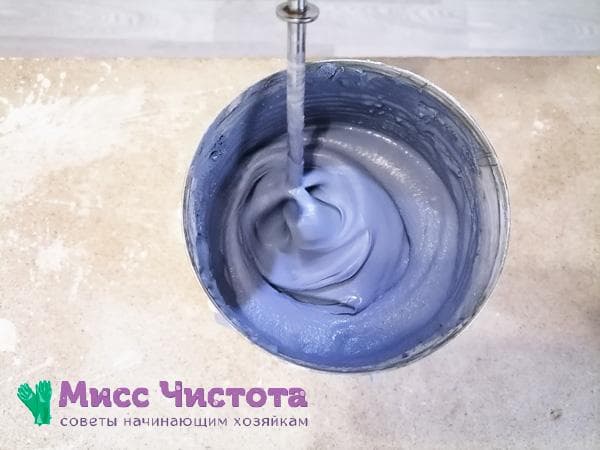
- The mixture is prepared immediately before work.
- Any grout must be diluted strictly according to the instructions and preferably using scales.
- Large volumes are mixed with a construction mixer or a screwdriver with a whisk attachment.
- 200-500 g of grout can be mixed with a spatula. The mixture should be homogeneous, plastic, without lumps, and the consistency should be like liquid dough.
- It is better to prepare less grout than more.
- Cement mixtures harden within 12-24 hours, and epoxy mixtures in 40-60 minutes. During this time, it is necessary not only to work out the material, but also to remove excess from the tiles before they harden.
Advice. If you are applying epoxy grout yourself for the first time, it is better to prepare a small portion (100 g of the mixture).
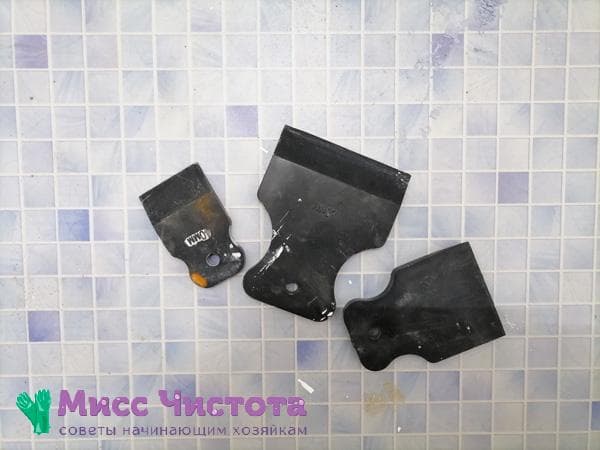
Tool preparation
To fill the gaps between the tiles you will need a minimum of tools:
- Wide rubber spatula that fits comfortably in your hand.
- For grouting large areas, a rubber float with a handle is useful.
- Rags, sponges, rags.
- Bucket with clean water.
- Latex gloves.
Grout tends to penetrate deep into the pores of the skin.Therefore, it is better to work with gloves. It would also be a good idea to open windows and doors (turn on the hood) so that the room is well ventilated.
Stage No. 2: applying grout
So, the cracks between the tiles are cleaned, the grout is removed, all the necessary tools are at hand. You can start applying the mixture.
- We start work from the ceiling, if it is a wall, and from the far corner from the passage, if it is a floor.
- We scoop up the grout with a spatula and spread it diagonally over the crack.
- We collect the excess from the surface, placing the spatula perpendicular to the surface, and stretch it again, slightly tamping it into the gap.
- We go through the third time without compacting.
- We collect excess grout from the tiles and transfer it to the next area.
- We continue to rub the seams until the entire surface is worked out.
- It is important to work quickly, but efficiently: the seams must be filled to the full depth, and there should be a minimum of streaks on the tiles.


Important. According to the rules, the seams should be slightly recessed (located a few millimeters below the surface of the tile).
Advice. If the grout protrudes or lies unevenly, you can place a cable wire or other round object on top of the joint. Or run a wet finger over the grout, as in the photo above.
Processing narrow seams
Narrow seams look neater than wide ones, but they are a little more difficult to rub.
If the gap width is 3 mm or less, grout can be applied using a special construction applicator (gun). Alternatively, the composition can be pushed into a regular syringe with 20-25 cubes, and then squeezed out. The needle, of course, needs to be removed. If the tip of the syringe is too wide, the hole can be made smaller by wrapping electrical tape on top and cutting off the corner.
This application method is suitable for cement grout.You need to make it more liquid, but not overdo it. The consistency should be like thick sour cream.
Stage No. 3: final
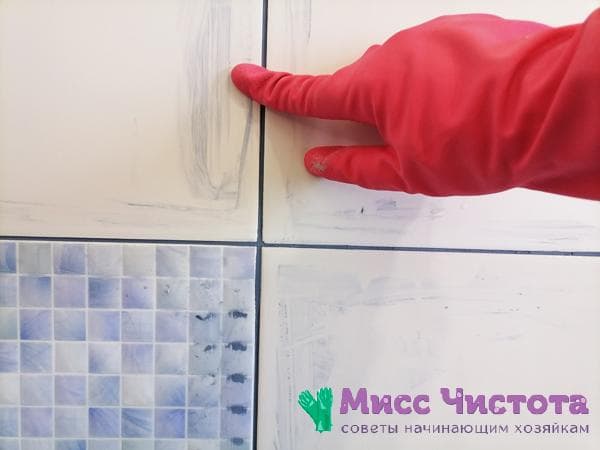
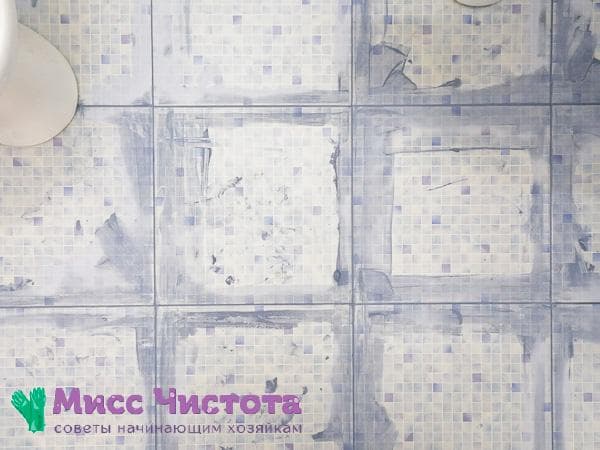
After applying the grout, you should immediately begin cleaning the tiles. The ideal moment is when the mixture has dried a little and become matte (usually after 10-20 minutes).
Need to:
- Moisten a rag (sponge) with water or a special cleaner for epoxy grout.
- Wipe the tiles diagonally towards you (so as not to wash the grout out of the joints). After each pass, you need to rinse the sponge with water.
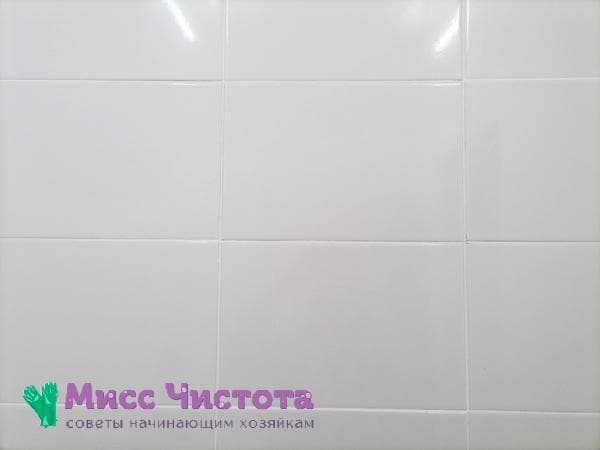
- When the grout is completely dry, you can rub the tiles with a terry cloth.
Finished tiles:
Coating the grout with sealant
Basically, sealant is used to cover cement grout in the bathroom and other rooms with high humidity.
The sealant reliably seals the seam from moisture, chemicals, and allows you to preserve the original color of the grout for a long time.
How to cover worn seams with sealant:
- Dry the grout (48-72 hours).
- Apply the sealant using a brush into the space between the tiles.
- If the composition gets on the tiles, it is better to immediately wipe it off with a cloth.
- Wait 10-15 minutes for the first layer of sealant to absorb into the grout.
- Apply a second coat of sealant.
- After 15 minutes, wash the tiles with a nylon sponge and water.
- The sealant will dry completely after 48 hours. If the seams on the floor have been sealed, it is not recommended to walk on the tiles for at least 4 hours.
After the sealant has stabilized, you can conduct a small experiment: pour some water on the floor (spray on the wall) and watch how the droplets collect on the surface. The grout in the seams should remain completely dry.
Questions and answers
How long can you go without grouting after laying tiles?
Inside dry heated rooms - a month or longer. For exterior cladding, bathroom cladding, especially the floor, it is better to grout the seams on time. There is a risk that fungal spores and hard-to-remove debris will get into the cracks. In addition, temperature changes and excess humidity can weaken the adhesive that holds the tiles in place.
Is it possible to grout seams with tile adhesive?
It is not advisable to use tile adhesive for grouting joints. It is porous, contains abrasive particles and can scratch the tile surface. Glue also comes in only white and gray colors; when color is added, it remains cloudy. Its use is allowed only for external cladding, floor cladding in toilets and bathrooms, provided that the gaps between the tiles are 2 mm or more.
Tile is one of the most common finishing materials for the bathroom. Very often they install it themselves. The work is considered difficult and requires a certain skill. Therefore, after its completion, many exhale with relief and relax - the most serious process is over. But it’s too early to relax. Grouting joints is no less important. In order for the cladding to last for years, not be affected by mold and look like a monolith, you must follow all the rules described above. The work won't take much time if you use tips and life hacks.