How to glue drywall to a concrete or brick wall
Recently, plasterboard has become increasingly used to level walls. This finishing material perfectly retains heat, allows you to hide the unevenness of the surface being treated, and hide electrical wiring. There are two ways to attach plasterboard sheets to the wall: on the sheathing and using adhesive. The second method allows you to significantly save precious centimeters of usable space, as well as energy and time spent on repairs - you just need to know what and how to glue the drywall to the wall.
How to prepare glue?
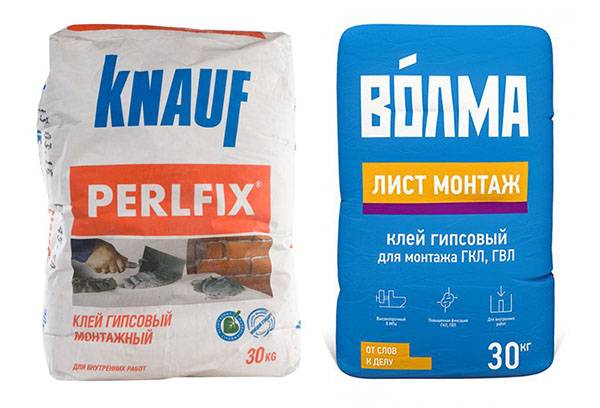
Among modern manufacturers of drywall adhesive, the Knauf company, which produces the professional Perlfix mixture, is especially popular. In addition, similar adhesive compositions are made by Volma and Ivsil Plast. The products of each manufacturer have their own advantages and disadvantages and vary in cost, consumption, reliability and durability of the connection.
Knauf has created a special adhesive, Perlfix, designed for gluing drywall to the wall. This adhesive consists of gypsum and various synthetic additives and is used for installing plasterboard panels or isothermal material on concrete and brick walls.
Important!
Perlfix glue can only be used when working indoors.
The glue is supplied to the retail chain in 30 kg bags.Before purchasing, you should correctly calculate the required amount of adhesive, taking into account that the material consumption is 5 kg per 1 sq. m. m of surface.
In order for the glue to fully meet the characteristics declared by the manufacturer, the solution must be prepared correctly. To do this you will need a plastic bucket or tank and a construction mixer. Of course, you can prepare the mixture by hand, but with a mixer the work will be done much faster and with better quality. The dry mixture is diluted with water in a ratio of 1:2, that is, take two parts of powder and one part of water.
Water is poured into a clean plastic container, after which the adhesive mixture is poured. Stir everything until a homogeneous mass is obtained, lumps and clots are thoroughly ground.
Important!
To achieve a uniform consistency of the adhesive solution, you need to add the dry mixture to the water in small portions. This will not only make the stirring process easier, but will also reduce the load on the mixer, which will reduce the risk of machine breakdown.
As a result of mixing, you should get a thick liquid similar to sour cream. If the glue seems too thin or thick, you can add powder or water to bring the mixture to the desired density.
The finished solution should be used within half an hour. Moreover, it must be taken into account that before stirring a new portion of glue, the container will have to be thoroughly washed, otherwise the setting time of the composition will be significantly reduced.
Preparing the wall surface
Before gluing drywall to the wall, you must properly prepare the surface to be glued.
Important!
The temperature of the walls on which it is planned to glue gypsum boards must be at least +5°C.
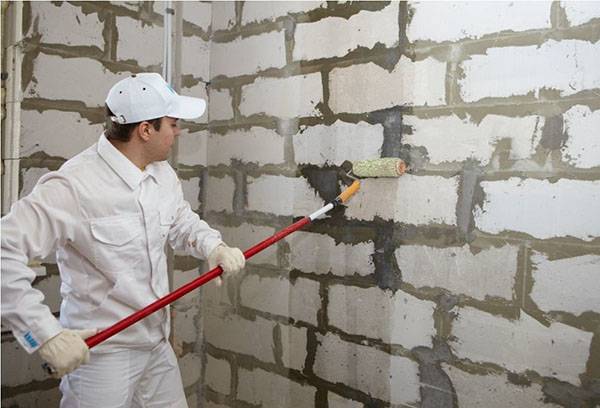
First of all, the surface of the base must be cleaned of dust, dirt and debris.If any fragments have peeled off, they must be carefully removed and the area cleaned. Form release agent must be removed from concrete slabs. To improve adhesion, surfaces made of concrete and foam concrete should be treated with Betonkontakt primer.
When gluing hygroscopic surfaces - brick, aerated concrete, plastered walls - it is recommended to first apply Grundirmittel primer, produced by Knauf. After applying the primer, you need to postpone further work for a while and let the treated surface dry, and only then can you glue drywall to the wall.
Gluing drywall to a flat wall
This method of gluing plasterboard is applicable to relatively smooth concrete or brick walls, when the height of the unevenness does not exceed 5 mm.
Since the layer of glue between the wall and the plasterboard sheet will be quite thin, it will not be possible to hide the electrical wiring without grooves. Therefore, the first thing you need to do is make the appropriate markings and, using a hammer drill or other tool, hollow out recesses for the wires and make sockets for sockets. Now the wires can be laid in the grooves and secured with clamps every half meter.
When the wiring is completed, the wall surface can be primed. If the concrete wall is painted, it is not necessary to remove the paint. A special primer for painted surfaces will help avoid this long and labor-intensive process. This product costs a little more than usual, but it saves effort and time. As soon as the soil is dry, you can begin installing the gypsum board.
Experts advise starting pasting from one of the corners of the room, adjoining the gypsum panel close to the perpendicular wall.The next sheet is placed close to the first, and so they walk around the entire room around the perimeter.
The process of gluing gypsum plasterboard includes the following steps.
- The drywall is laid out on a flat surface and the adhesive is distributed with a notched trowel in separate piles in the middle of the sheet and in the form of a continuous strip around the perimeter. If you plan to hang furniture at the location of this panel, it is necessary to cover the entire sheet with glue for greater reliability of fastening.
- GKL trimmings are used as stands on which the sheet is installed. Gypsum does not tolerate moisture, so the open edge of the gypsum board panels should not come into contact with the ceiling or screed, from which condensation may flow. It is impossible to replace temporary underlays with permanent waterproofing supports, since drywall adhesive contains gypsum, which hardens only with the participation of air. Therefore, gypsum boards are installed on temporary substrates, which are removed at the end of the work, and the free space is filled with sealant.
Important!
The length of the plasterboard sheet should be 1.5 cm less than the height of the walls.
- The sheet is pressed against the wall and leveled vertically using a level and a rubber mallet. It will be much more convenient to work if in advance, even in the process of pre-hanging the walls, you make markings on the floor and ceiling, otherwise without such markings you can glue the first sheet too deeply.
- When all the panels are installed, the gaps between them are puttied and cleaned, after which you can begin finishing the walls.
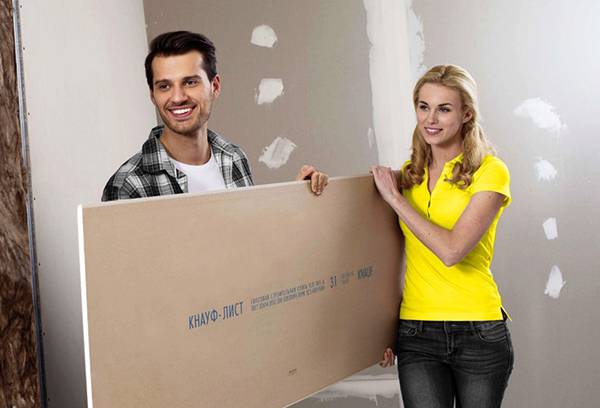
Despite its fragility, a plasterboard sheet weighs about 30 kg. Therefore, it is better to carry out work on leveling walls not alone, but with an assistant.

Gluing plasterboard to a wall with obvious irregularities
For finishing walls with obvious unevenness with plasterboard, the above method will not work, and glue alone will not do. If the height of the differences on the surface of the base is more than 2 cm, you need to make a structure like a sheathing, and glue sheets of finishing material to it.
One of the sheets of drywall is cut into strips 10 cm wide. The number of strips depends on the area of the surface being treated. The strips are glued to the wall vertically, leaving gaps of about 50 cm between them. When creating this design, you must clearly maintain the vertical, controlling yourself using rules and levels.
In addition, the amount of glue applied must be adjusted to the distance from the wall to the frame strip. In the place where the depression is located, you should put more glue, and vice versa. If all the strips are located in the same plane, then the wall after pasting with plasterboard will be even. The strips play the role of beacons, and the gypsum boards will be attached with glue to the resulting frame.
With this alignment of the walls, there is enough space inside the frame to hide the electrical wiring. Therefore, you won’t have to trench the surface; you just need to stretch and secure the wires. After making sure that the glue has completely dried and the frame is firmly and securely attached to the wall, you can begin gluing the drywall sheets. To do this, you can use the same Perlfix glue or liquid nails. In the latter case, the result will be the same, although the cost of the product is much higher.
Advice
Some experts use foam adhesive for drywall as an adhesive. Beginners should not choose this product. Of course, if all the work is done correctly, the soldering turns out to be very strong. However, working with foam is incredibly difficult.For an hour, until the foam hardens completely, you must constantly press the sheets towards the beacons. Otherwise, the foam will crawl out of the sheet and dry out in the form of lumps, which will then have to be cut off.
When finishing smooth walls made of concrete or brick, it is advisable to use sheets of plasterboard, which can be quickly and reliably attached to the surface being treated using a special adhesive composition. This method will save time and useful space, since it does not require the construction of a metal frame - even if the walls in the room are not particularly flat, you can do without it. You just need to first glue the vertical strips of plasterboard that will serve as beacons.