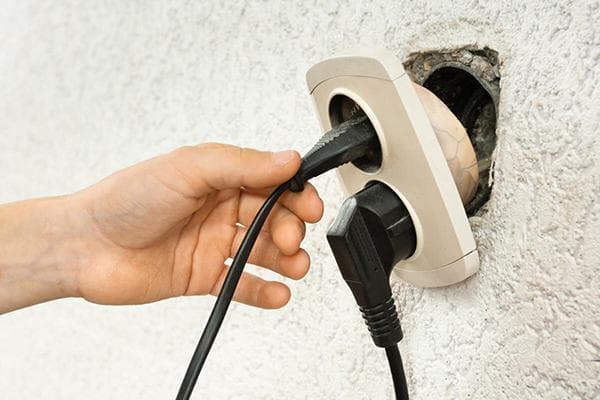
How to securely secure the socket so that it does not fall out?
In every second apartment there are sockets that do not sit tightly in the wall. You may encounter the need to secure a socket box after moving to a new home or if the socket begins to fall out of the wall after a long period of use. Let's figure out how to properly carry out repairs using socket boxes made of plastic or metal. We will also consider the nuances of installing sockets in walls made of various materials (concrete, aerated concrete, brick, plasterboard).
How to secure a socket in a new plastic socket box?
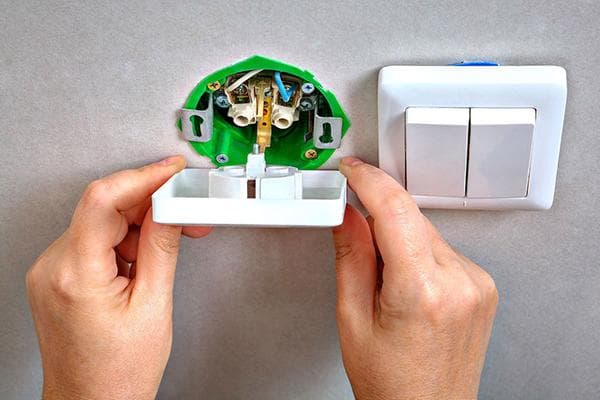
The most civilized solution to the problem of reliable installation of an outlet is installation in a socket box. This device externally resembles a plastic cup with fasteners and complex geometry of the inner surface. New electrical devices are securely fastened with screws to the plastic of the socket box, and the bowl itself is glued into the wall using an alabaster or plaster solution.
If the socket box is selected and installed correctly, loosening of the socket in the wall after installation is completely excluded. Of course, for installation you will have to tinker a little, preparing the socket, but the opportunity to forget about any problems with the socket for a long time makes up for all the inconveniences.
How to choose a socket box?
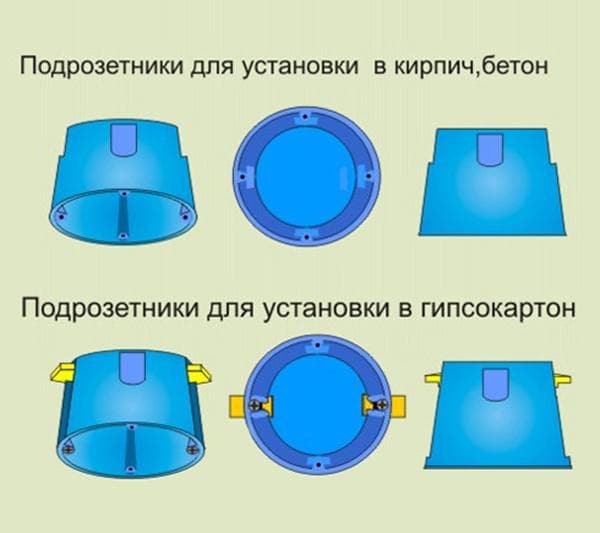
In many ways, the amount of time and effort that will have to be spent on installing a socket box depends on the correct choice of product. Let's compare two varieties:
| Comparison indicator | Socket boxes for installation in solid walls (concrete, brick) | Socket boxes for installation in hollow walls (aerated concrete, plasterboard) |
|---|---|---|
| Outer diameter | 68 mm | 68 mm |
| Depth internal | 40 mm or 45 mm | 40 mm or 45 mm |
| Availability of fasteners on the socket box | None | Presser feet (2 pcs.) |
On sale you can also find universal socket boxes that can be installed in both brick and plasterboard walls.
If you need to mount two sockets side by side, it is better to purchase a double block of socket boxes. It will provide greater rigidity of the fastening, in addition, it will be easier to calculate the distance between the elements.
How to fix a socket box in a concrete wall?
The simplest mounting option for a concrete wall is gluing it onto alabaster mortar. To prepare the alabaster “dough” for fastening, the powder is mixed with water until the mixture resembles the consistency of thick sour cream.
Alabaster hardens quickly - after diluting the solution, no more than 20 minutes remain for installation.
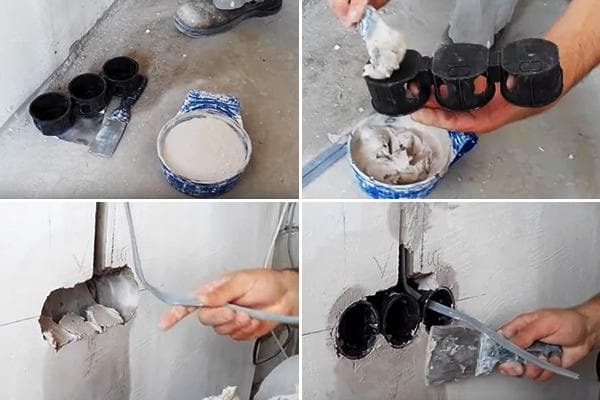
The operating procedure is as follows:
- All dust is swept out of the niche in the wall, small fragments of concrete are removed. The walls of the niche need to be moistened with water. It’s even better if there is a primer for alabaster, but if not, you can do without it.
- On the desired side, remove the plug on the hole for inserting the wire into the socket box.
- The solution is mixed. A small amount is applied to the walls of the niche.
- The socket box with the wire threaded through is pressed into the wall. The edge should be flush with the finish coat.
- The remains of alabaster squeezed out of the wall are cleaned off with a spatula.
Do not remove all the plugs from the wire holes at once. Through the extra holes, the alabaster “dough” will leak into the socket box, which will complicate installation.
After the solution has dried, you can install the socket.
Installation into a wall made of brick or other solid material follows the same scheme.
How to install a socket box in a plasterboard wall?
If the wall is made of plasterboard or other loose material, installation of the socket box will be even easier:
- You need to remove the plug.
- Insert the wire into the bowl.
- Insert a plastic cup into the wall.
- Tighten the screws. They will spread the presser feet, and the socket box will be securely locked in place.
How to attach a socket to an already installed (or old) socket box?
When installing a new socket in an old socket box, proceed as follows:
- Approximately 14 cm of wire is left inside the box. This margin is enough to reliably connect it to the contacts.
- Then a smooth bend of the conductors is formed, preventing them from breaking.
- The metal frame of the socket is attached to the socket box with screws. At the same time, using a building level, check that the upper edge of the frame is located strictly horizontally.
- All that remains is to put on the decorative overlays. Installation completed successfully!
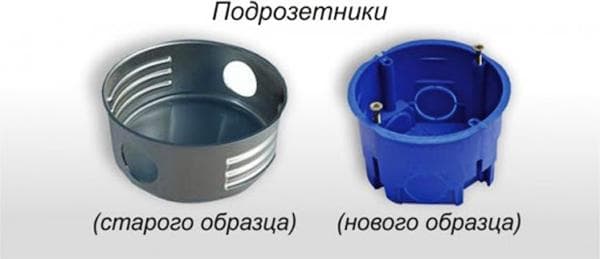
How to attach a socket to a metal socket box?
In old apartments, metal landing boxes with smooth walls were installed. This solution turned out to be not very successful: the fastening elements of the socket do not adhere well to smooth metal. Therefore, sockets and switches installed in old boxes soon begin to dangle.
A strip of sandpaper (size 6 x 20 cm) will help to increase the reliability of the stop:
- You need to remove the socket from the wall and place sandpaper folded in half inside the metal box. In this case, the granular layer should face outward.
- When tightening the paws, the sanding insert will provide more reliable adhesion of metal to metal, which will increase the reliability of fastening electrical devices.
In conclusion, here is a small FAQ dedicated to installing sockets in concrete walls without socket boxes.
If installed correctly, the socket box will allow you to forget about the problem of a dangling socket, which will reliably protect all residents from the risk of electrical injury. It’s worth working hard for such a result, isn’t it?