How to make a snowflake out of paper - simple, three-dimensional, two-color?
The beauty of the New Year is that the aura of everyone’s favorite holiday spreads far beyond the dates indicated by the calendar. For many people, the New Year season begins with the first snow. But what if winter is slow to arrive in your area? Everything outside the window is gray, a chilly wind is blowing - and not a snowflake. A method familiar from childhood is to make snowflakes out of paper and decorate a window, door or wall clock with them. So what was the matter? Stock up on office supplies and get going! We will suggest several interesting options to make your dance of snowflakes this year stunningly beautiful.
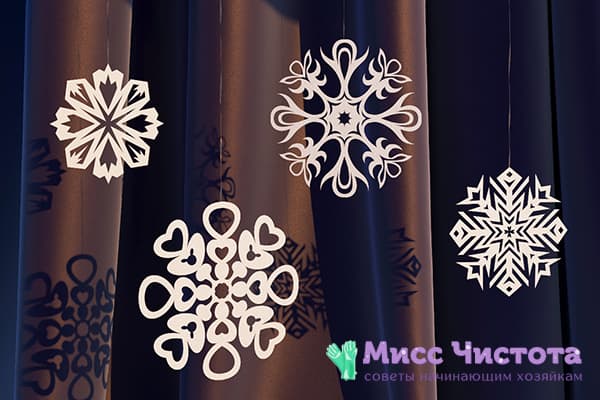
Let's start simple
Probably everyone remembers this simple scheme: we make a square out of an A4 sheet, bend it diagonally, then again (along the median to the previous fold) and again (turning a right angle into an acute one, 45°). On this multilayer structure we draw a segment of the future pattern, cut it out, unfold it - and voila! The openwork snowflake is ready.
But not everything is as simple as it seems. Some people end up with a cross-shaped snowflake and not a round one. For some, it looks like it was cut out with an axe. It happens that it completely falls apart into 4 parts: they cut it in the wrong place. If you are not a snowflake master, you can spend the whole evening in unsuccessful experiments.
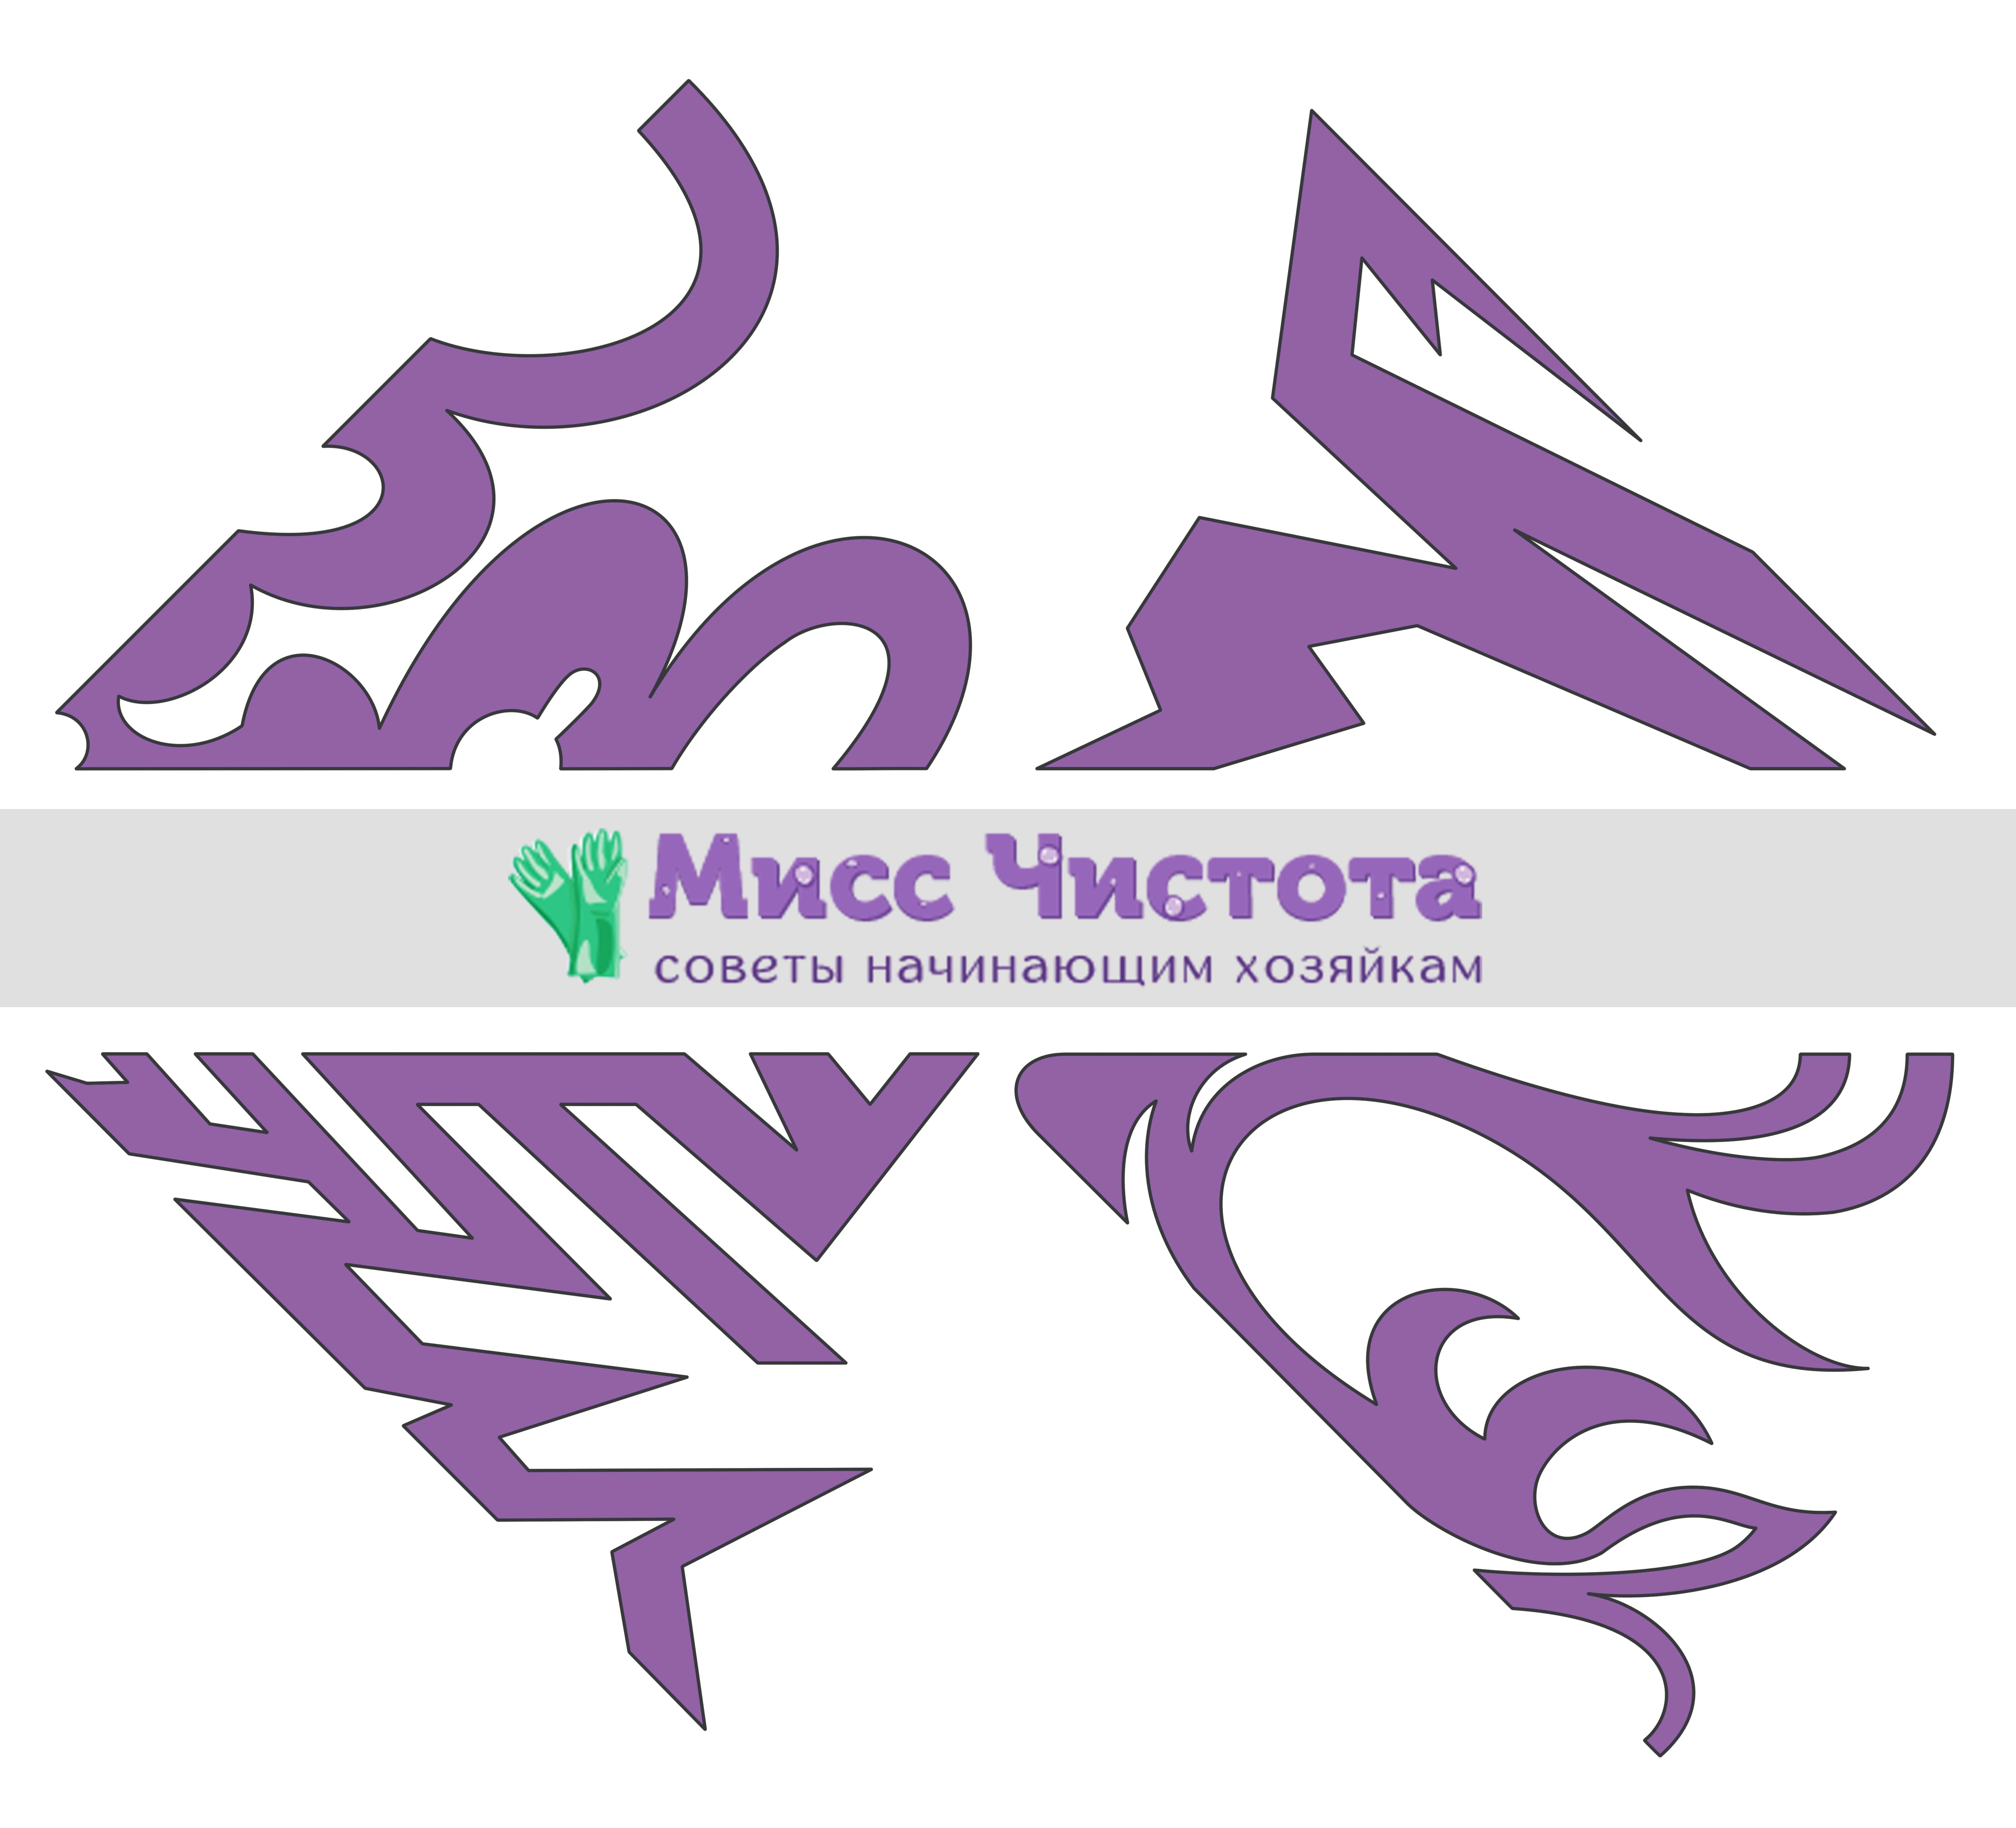
To save you from playing the role of an irritated Grinch, we have prepared templates (you can download Here).
Just print them out on A4 sheet, cut them out and trace them, applying them to the folded triangular blanks. Then carefully cut along the contour, unfold - and here you have beautiful snowflakes without wasting time and effort.
To successfully cut through multiple layers of paper, you will need good, sharp scissors. If the blades have become dull for a long time, the snowflake will turn out “shaggy” and sloppy.
With re-twist
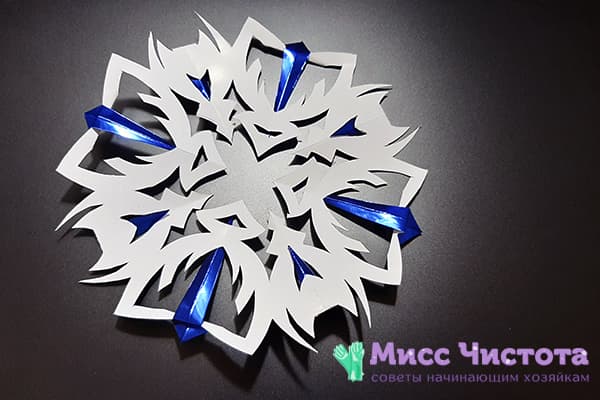
If you managed to get hold of paper whose sides are painted in different colors, you can make an interesting version of a snowflake. The trick is this: based on the standard pattern, you need to cut out the elongated “peaks”, and then wrap them so that the color of the back side of the sheet is visible. It’s easy to do, but it turns out unusual!
Snowflake template can be downloaded Here.
By the way, you can make fluffy skirts from flat snowflakes - you just need to cut out cardboard blanks in the form of fairies or ballerinas. Dress them up to your liking and set up a mini-scene on your desk or windowsill. For children, especially girls, this is a mega-exciting activity.
Glue for amateurs and professionals
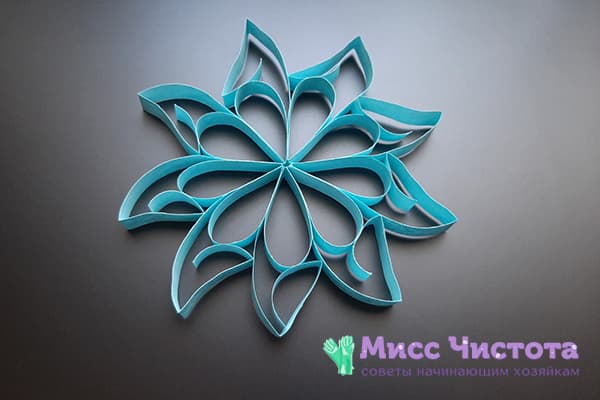
Having at your disposal not only scissors, but also glue, you can make a snowflake according to a completely different pattern. The advantage is that here you can use your imagination to the fullest: a snowflake can be large or small, multi-tiered or minimalistic, round, daisy-like, or with sharp edges.
What you will need:
- a sheet of paper or thin cardboard;
- ruler;
- pencil;
- scissors or stationery knife;
- glue.
A snowflake is made like this:
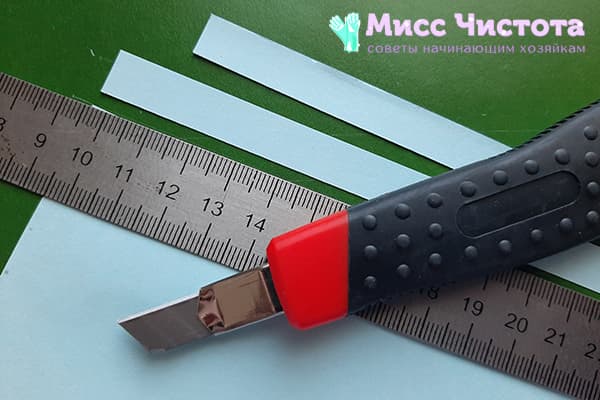
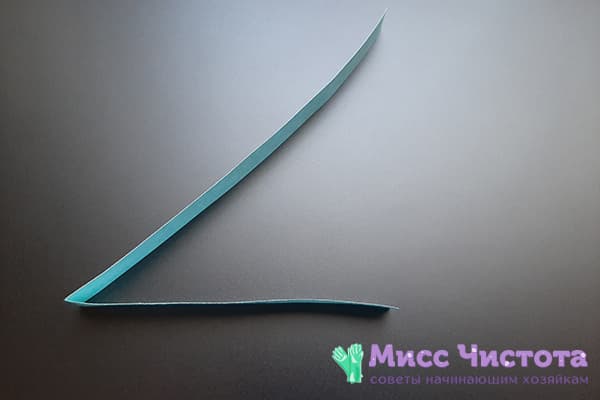
- Cut paper strips (for example, centimeter wide), marking the sheet with a pencil. The length does not really matter - you can cut the A4 sheet lengthwise or crosswise. The number of stripes is at your discretion, but not less than 5.The more modules, the denser the snowflake will be.
- Fold each strip, but not in half, but so that one part is longer than the other. The fold on each strip should be in the same place.
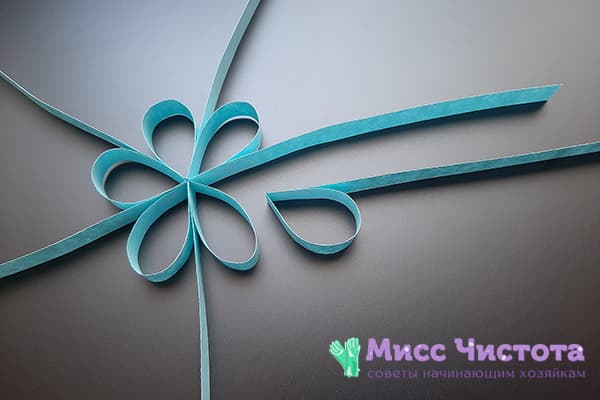
- Bend the short part into a “droplet” and secure with glue.
- Glue the “droplets” together to form a “daisy”, with the free ends of the paper strips sticking out between the petals.
- Now do something with the ends - you can also bend them into “droplets”, or you can give them a peak, fin or any other shape. The main thing is to glue it to the core or to the “petals” so that there are no loose ends left. The snowflake is ready!
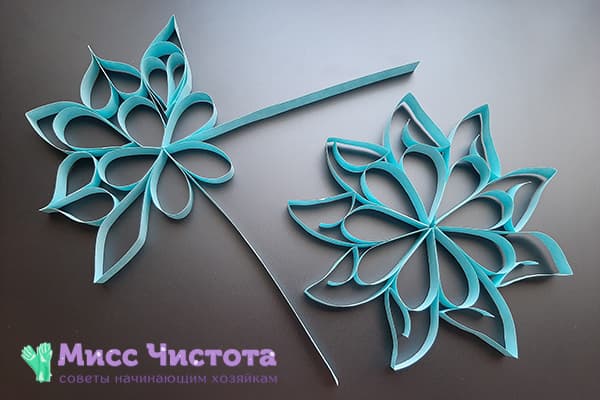
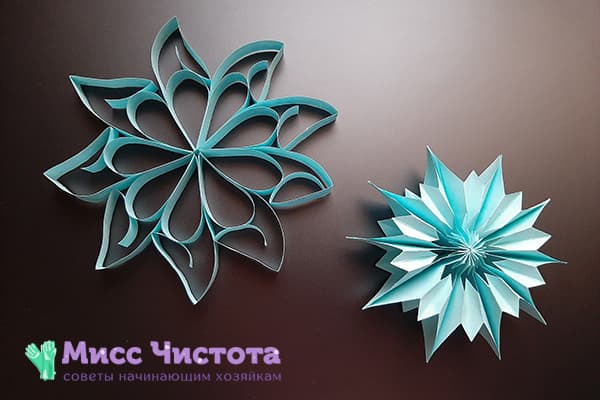
More complex snowflakes can be made using the quilling technique. In fact, the principle is the same: paper strips of different colors are folded to form stable modules and glued together to create fantastic patterns.
Office origami
This method is especially for those who while away the days before the New Year holidays in a boring office. If you have a free 15 minutes, then, as they say, don’t expect a miracle - create a miracle yourself.
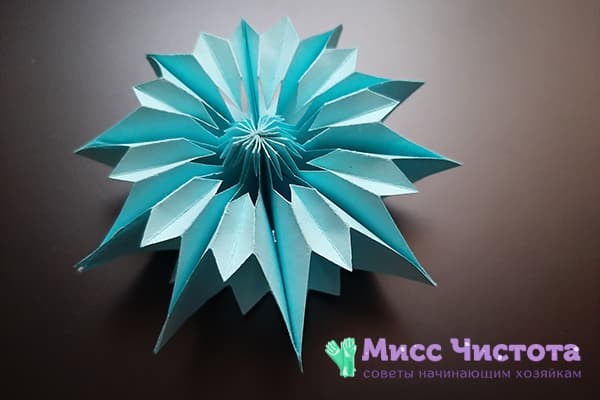
In your stationery arsenal you probably have a block of paper for notes - square pieces of paper 9 x 9 cm (colored or plain white). So they will become the building material for a neat little snowflake. Yes, not simple, but voluminous!
You will need:
- 5–10 leaves (9 x 9 cm);
- pencil;
- ruler;
- scissors;
- glue.
Proceed as follows:
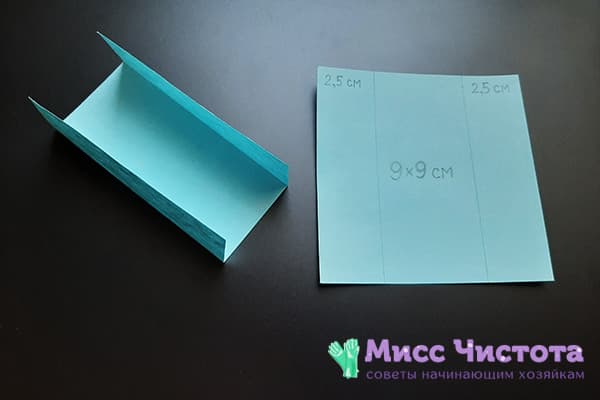
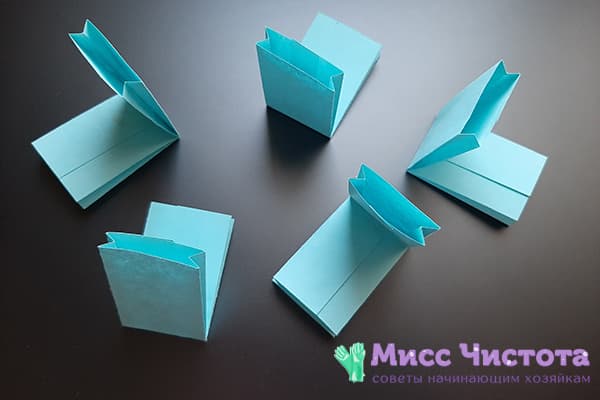
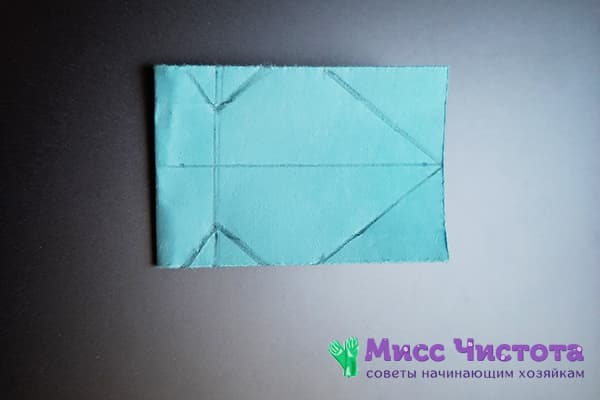
- On a square piece of paper, draw 2 vertical lines, departing from the edges by 2.5 cm. It is better not to draw the lines with a pencil, but to press them with the edge of a metal ruler, a non-writing pen or, for example, a nail file. The point is that it is convenient to bend the sheet along the intended lines.
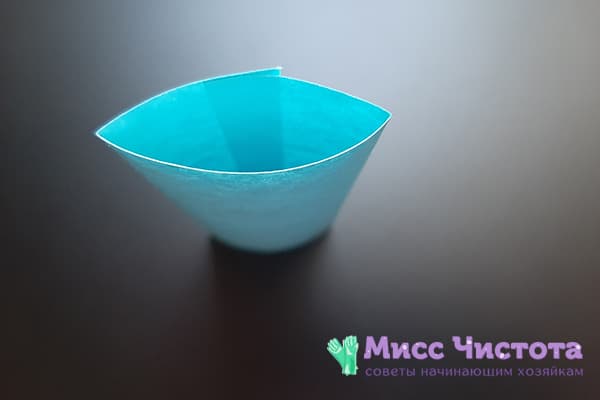
- Fold the edges inward along the markings.They will overlap slightly - this is how it should be.
- Glue the folded edges together to create an end-to-end oblong module.
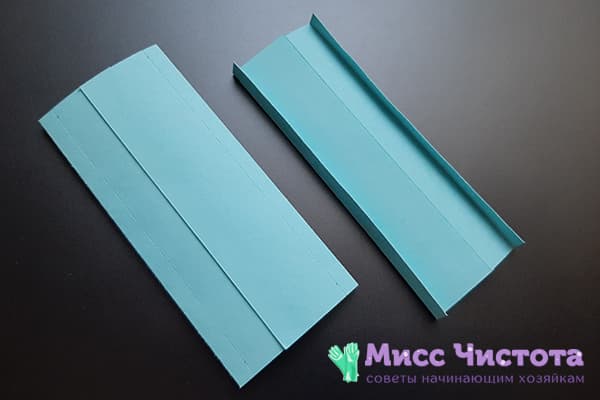
- Stepping back 5 mm from the edges, draw 2 vertical stripes again. Gently fold along these strips. Draw your nail along the edges with force to make the fold line as clear as possible.
- Now, carefully, trying not to wrinkle the workpieces, fold the edges like an accordion along the same fold lines.
- Bend the workpiece in half crosswise.
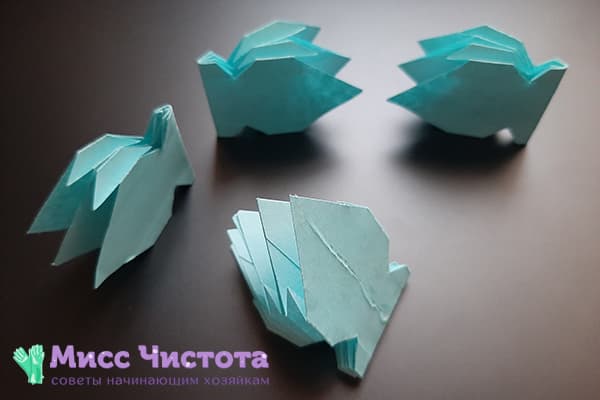
- Outline the shape of the future segment of the snowflake with a pencil. Cut out the resulting shape. We advise you to sharpen the free edges and under no circumstances touch the transverse fold.
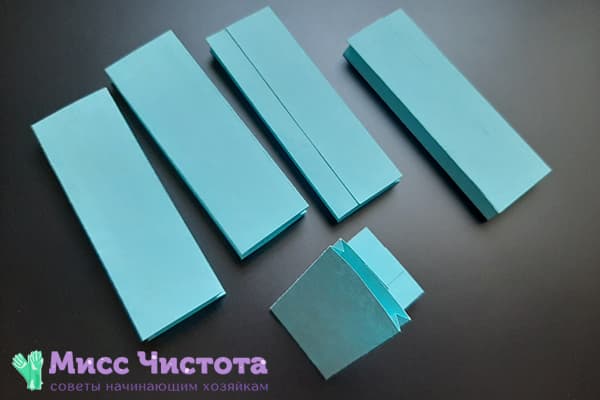
- Using the resulting module as a template, make several more of the same (four will be enough).
- Glue the modules together by stacking them. There is a nuance here: apply the glue in a thin vertical strip, do not cover the entire surface of the workpiece.
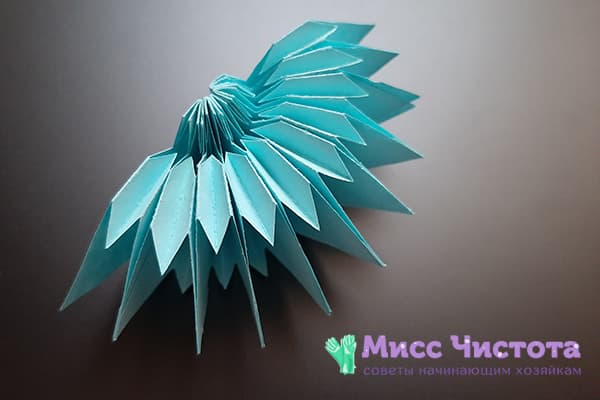
- When the stack has set, carefully unfold the workpiece like a fan and glue its edges together (using the same glue strip) to create a symmetrical three-dimensional snowflake.
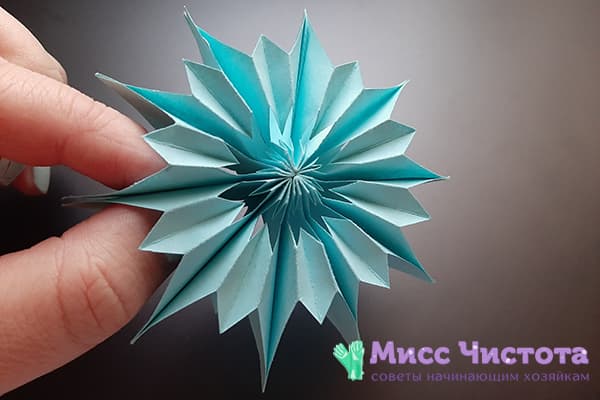
The snowflakes turn out neat and compact - just right to decorate a table lamp or the corner of an office monitor. But you can make them larger - then you will need to take not sheets of paper for notes, but 21 x 21 cm squares cut from A4 sheets.
Another interesting modification of this type of snowflake:
So, now you know four techniques for making New Year's snowflakes. In fact, none of them are particularly complicated - even a child can cut and glue them step by step. It will take no more than an hour to create a New Year's atmosphere with your own hands. With coming!
