How to cut and beautifully hem curtains - thick drapes and light curtains
The design of a window opening is the most important detail in the design of a room. Beautiful curtains that match the style and color not only perform a protective role, but also create an atmosphere of coziness and comfort. You can sew the curtains yourself or buy a ready-made kit in the store. In any case, you need to be able to hem curtains correctly and beautifully. After all, curtain fabrics are usually sold with a length reserve, and finished products do not always have the appropriate dimensions, so they have to be shortened and hemmed. There are several ways to perform this simple job, which even a novice seamstress can handle.

Preparation of material
A variety of materials are used to make curtains. Thick curtains are made from crepe, jacquard, velvet, velor, thick cotton and linen; thin curtains - made of tulle, nylon, organza. Each fabric has its own characteristics and requires certain processing.
Before you start shortening and hemming, you need to do some preparatory work.
To ensure that the finished curtains do not end up short after the first wash, the fabric is decated. To do this, the fabric is immersed in water for several minutes, then wrung out and hung to dry.
- For processing synthetic materials, the water temperature should not exceed +30°C.
- Cotton and linen can be soaked in hotter water (from +40°C to +60°C).
- Wool, silk and fleecy materials are not decated.
Slightly damp curtains are ironed, setting the setting appropriate for the fabric.
Those materials that are not recommended to be decanted should be hung on a cornice or other crossbar, sprayed with water and allowed to hang for 2-3 days.
How to hem curtains by hand and by machine?
When hemming curtains, it is better to use a sewing machine. The work will be done much faster and more accurately than by hand. However, you can do without this device and bend the fabric using a regular needle.
To work you need to prepare:
- sharp needle;
- sewing machine;
- scissors;
- measuring tape;
- ruler;
- chalk;
- pins;
- threads in the color of the material.
The first step is to determine how long the new curtains will be. To do this, use a measuring tape to measure the distance from the end of the hinges on the eaves to the floor or window sill and write down the resulting value.
Then you can follow the following instructions:
- The canvas is laid out on a flat hard surface with the wrong side up. It is better to place a cotton sheet under silk or satin fabric to prevent it from slipping.
- Measure the length of the curtain, making chalk marks in three places: on the sides and in the middle of the canvas. Connect the marks made with a straight line using a ruler. The drawn line is the bottom edge of the curtain.
- Step back from the line by the width of the hem and cut off excess material. To hem curtains made of dense fabrics, you need to leave at least 15 cm. When hemming organza or nylon, it is enough to set aside 5–6 cm.
- The fabric is folded along the bottom edge and ironed to secure it. Then the hem is folded inward by 2-3 cm and stitched with a basting stitch or pinned and ironed again from the inside out.
If you decide to sew by hand, you need to take a needle and threads that match the color, get comfortable, since this task will take more than one hour, and start working. You can use a blind stitch or machine stitch. In the first case, neither the seam nor the threads will be visible. But when doing machine stitching by hand, you need to make sure that the stitches are of equal length and the seam runs in a straight line. Careless work will ruin the appearance of the finished product.
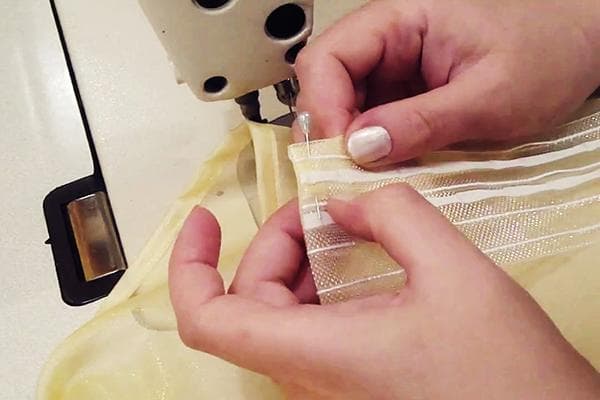
Hemming curtains using a sewing machine is, of course, much faster. Moreover, you can use both a regular machine stitch and various decorative stitches. If the hem is high (more than 5 cm), first sew the side part from the bottom edge of the fabric to the end of the hem. Then turn the fabric 90° and sew the hem, departing 2-3 mm from the top edge. At the end, the material is unrolled again and the side part of the hem is sewn.
The threads remaining at the beginning and end of the line must be tied in pairs with a double knot and cut off, leaving tails of 2–3 mm.
Now all that remains is to steam the bottom of the finished product and hang the new curtain on the cornice.
Adhesive tape for hemming curtains
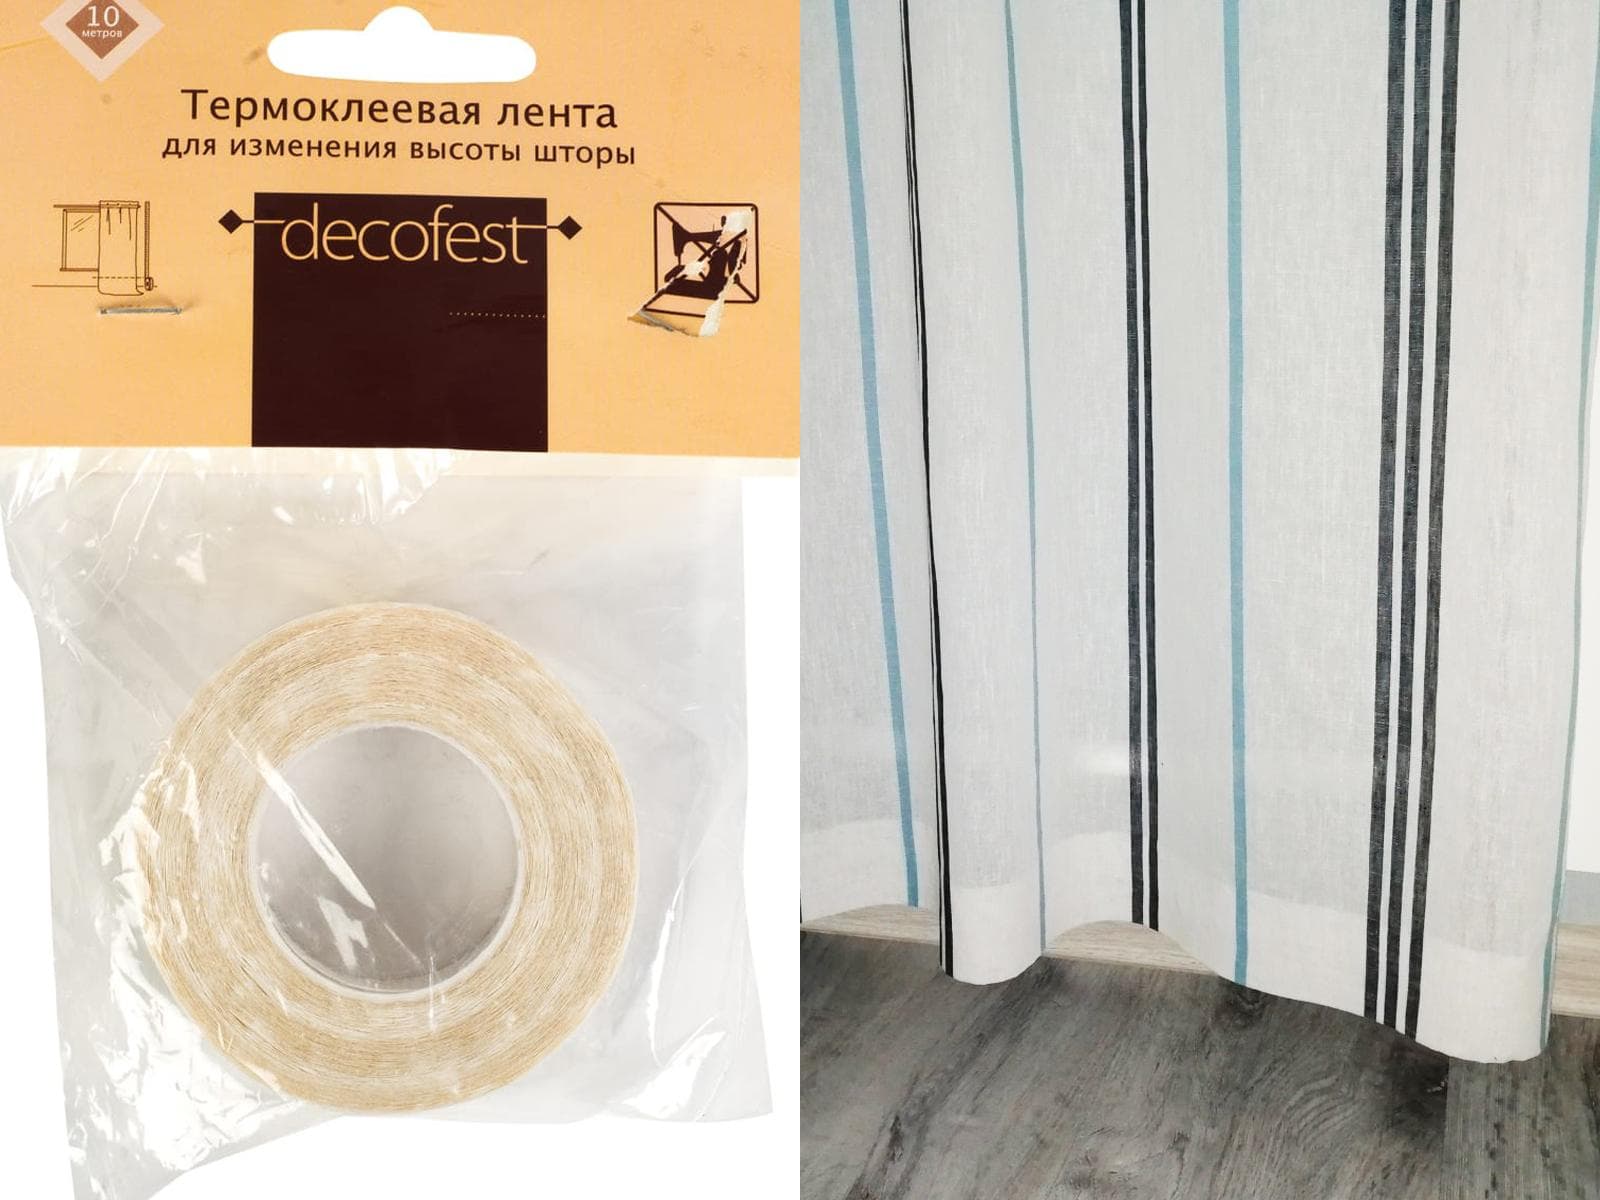
A simple and quick way to shorten curtains is to use adhesive tape. This translucent synthetic material, industrially treated with glue, is produced in the form of braid with a width of 5 mm to 5 cm. Gluing occurs by heating the adhesive with a hot iron.
It is clear that this type of fittings is not suitable for working with thin fabrics that cannot tolerate high temperatures. But thick curtains can be folded using adhesive tape. In this case, there will be no seams or needle holes, which usually spoil the appearance of the finished product.
Before starting work, it is better to experiment with an iron and tape on scraps of material and determine the optimal temperature for gluing. It is important not to burn the fabric and at the same time secure the hem firmly.
The shortening process looks like this:
- lay a double hem;
- adhesive tape is placed between two layers of material;
- iron several times with a well-heated iron.
This method has only one drawback: during washing, the glue is gradually washed off and the hem straightens. In this case, you will either have to glue a new tape, or use a special glue to restore the damaged sections of the tape.
Bias trim
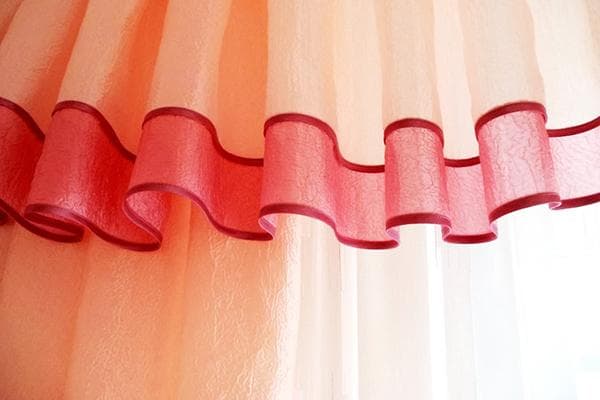
You can hem the curtain using bias tape or tape cut from a material in a color contrasting with the main fabric. This finishing will emphasize the exclusivity of the product; the main thing is to choose the appropriate edging material.
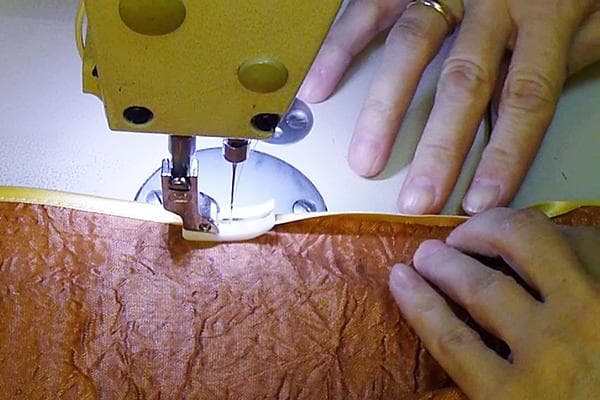
To process the edge of the fabric with bias tape, you will need a sewing machine and a special foot, which can be bought in stores with sewing equipment. Having measured the required length of the curtain, cut off the excess material along the line, leaving only 5 mm. The edge of the fabric is inserted inside the bias tape and carefully stitched, trying to place the seam as close to the edge of the tape as possible.
Treat the edge of the curtain with edging material as follows:
- An edging strip is cut out from a contrasting color material. The width of the strip depends on the artistic imagination of the craftswoman, but you should not make the edging too wide, otherwise the product will look tasteless.
- The strip of material is folded in half and ironed to secure the fold.
- The upper and lower edges of the strip are folded inward by 1 cm and ironed again.
- The edge of the curtain is inserted between the two layers of edging so that at least 1 cm of the main fabric is inside. Baste and then sew with a machine seam or zigzag.
To make the finished product look harmonious, the sides are also trimmed with finishing material.
How to hem curtains made of light fabrics?
Thin fabrics – chiffon, organza, nylon, which are popularly called “tulle” – create the impression of weightlessness of the window composition. It seems that there is nothing easier than cutting and hemming such a light curtain. However, this work also poses many difficulties.
The nylon fabric slides, so cutting a straight edge is very difficult. It’s good if the tulle is decorated with a simple symmetrical pattern. In this case, you need to fold the curtain in half, matching the fragments of the pattern, and secure it with pins. If the curtain is wider than 3 m, you can fold the fabric into 4 layers and also secure with pins. After this, measure the required length and cut the fabric with sharp scissors, leaving only 1–1.5 cm for hemming.
A curtain without a specific pattern is more difficult to cut. The length is measured in several places, notches are made with chalk or pins, and only after that the excess material is carefully cut off. This is exactly the case when “measure twice, cut once.”
For hemming, two types of seams are used: “Moscow” and “zigzag”.
"Moscow"
The Moscow seam, or “American” in other words, is used for hemming thin fabrics cut along an oblique line. To get this finish, you need to do the following work:
- bend the edge of the fabric by 5 mm and iron it;
- sew the hem, retreating from the edge of the fabric no more than 3 mm;
- cut off excess fabric as close to the stitching as possible;
- bend the material inward one more time by 5 mm;
- lay a line so that it coincides with the already made seam.
If you carry out this processing of the material correctly and carefully, one machine seam will be visible on the front side, and two lines will be visible on the back side.
Zigzag
The zigzag stitch is found on all modern sewing machines; it is usually used to process internal seams. This stitch is also useful when shortening a light curtain.
- Before starting work, you need to determine the optimal width and length of the stitch so that the hem is smooth, beautiful, and the connection is strong.
- The edge of the fabric is folded 1 cm and the fold is fixed with an iron.
- The fold of the fabric is processed with a zigzag.
- Excess tulle is trimmed with small sharp scissors.
Some craftswomen do not hem nylon curtains, but singe them, trying to seal the edge of the product. This requires some skill, otherwise you can burn the product.
Every housewife with minimal experience in sewing can shorten and hem a thick curtain or thin tulle at home. To do this, you don’t need to have a sewing machine; you can do the job by hand. The main thing is desire and patience.
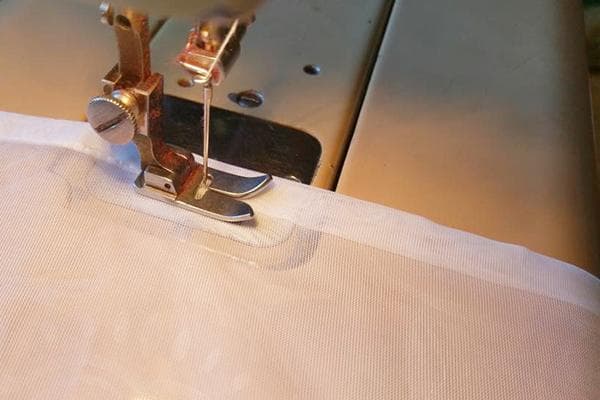
Lightweight nylon fabric is very difficult to cut evenly if the curtain width is 5-8 meters. In this case, I measure the length I need, and then simply pull the thread along the width of the curtain. Using the resulting “path” it is very easy to evenly cut off excess fabric
that's what I did