Do-it-yourself lubrication and repair of a washing machine: from shock absorbers to bearings
Very often, noise during spinning and washing is caused not by major breakdowns, but by simple wear of the lubricant. To update the layer on the bearing, shock absorbers, drum and pump, you will have to completely disassemble the washing machine. This is the main difficulty, the rest of the operations are simple.
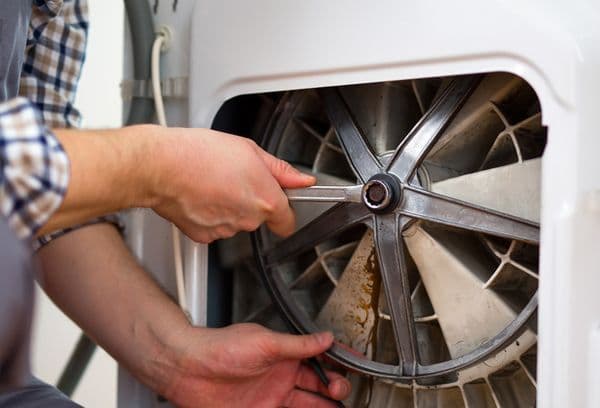
What kind of lubricant
First of all, you need to decide on the material. Experts recommend not combining different types, but using one lubricant for all parts. Don't rush into the store - read the specifications carefully.
Properties of lubricant for washing machines:
- moisture resistance,
- high viscosity,
- heat resistance (some machines have a boiling mode, which means the lubricant should keep 90-100 degrees Celsius),
- neutrality.
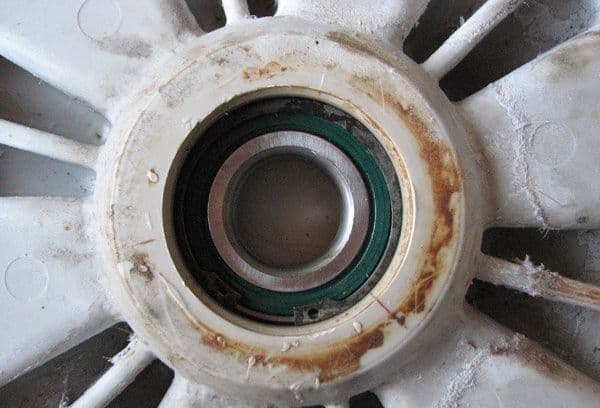
The last factor is of great importance, especially when it comes to bearings. It is closed by a rubber gasket - an oil seal. Aggressive lubricant will turn it into an inelastic disc or into a loose substance. Such a seal will not protect the bearing, water will get inside, oxidation will begin, and, most likely, the part will break and will have to be replaced with a new one.
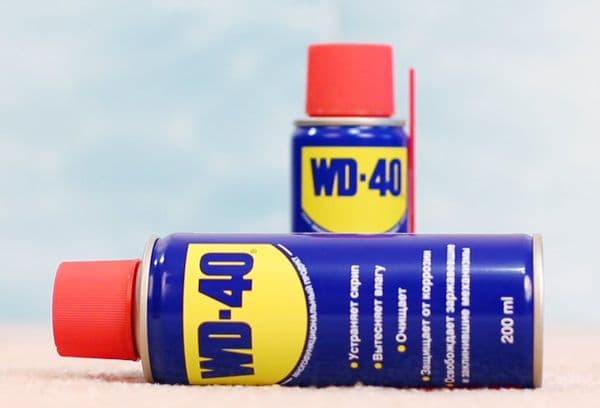
WD-40 is usually used to remove rust, salt deposits (lime) and dirt. This is the most popular household product today, and it does its job quite well. An additional plus is the thin proboscis on the sprayer, which delivers the cleaner more accurately.
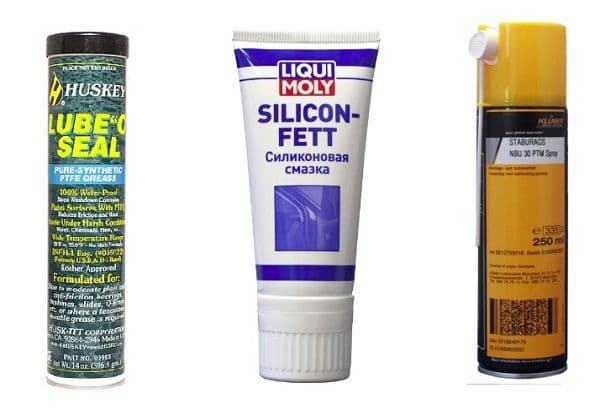
TOP 5 lubricants for washing machines:
- Amplifon.
- Anderol.
- Staburags NBU 12.
- Liqui Moly "Silicon-Fett".
- Huskey Lube-O-Seal PTFE Grease.
These brands are used in workshops and service centers and are convenient for use independently. Liqui the most expensive, which pays off with high quality and ideal compatibility with all types of oil seals. Anderol directly indicated in the machine instructions Indesit as recommended.
Algorithm
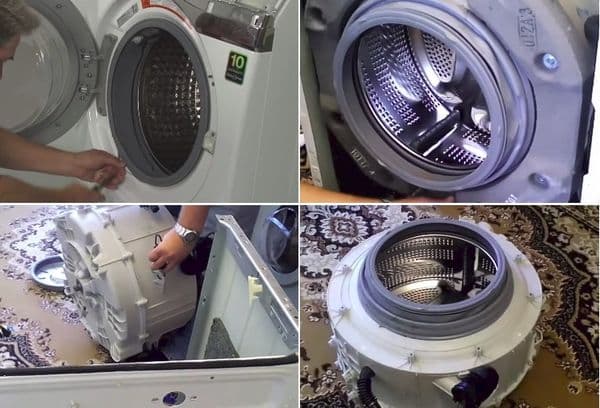
Modern washing machines are disassembled according to one principle. The main difference is in the design of the tank. For example, at LG it is collapsible. Similar ones are installed in Electrolux, AEG, Samsung. To remove the drum, you need to release the mounting screws.
Cars like "Ariston" or "Indesit" have a solid tank. Replacing the entire structure is quite expensive, so experienced craftsmen use several tricks that allow them to replace or lubricate bearings and other parts without updating the entire tank.
First stage:
- First of all, you need to open the door slightly and unplug the machine.
- The easiest way to replace pumps in modern devices. They are located at the bottom of the machine and are accessible through the bottom. Therefore, the first thing to do is to put the car on its side or tilt it back and rest it against the wall.
- Remove the front lower panel.
- In many models, shock absorbers and other elements are attached to the bottom. If inspection and repair of defenders is not necessary, it is better not to touch such a bottom, but to remove the face shield. To do this, remove the powder tray (it is secured with self-tapping screws and the water supply valve).
- Remove the control panel.
- Unscrew the screws of the front shield.
- Using a screwdriver, carefully pry off the clamp that holds the cuff, so as not to damage the rubber, and remove it.
- Press the cuff inside the drum and remove the panel.
- Disconnect the wires and set the shield aside.
- Now you can easily disconnect the pump. The most common breakdown in this unit is a blockage or a hole in the pipe (which causes water to leak under the machine) and wear of the armature/motor (which causes vibration when spinning and draining water).
- Clean the pipe and filter from accumulated debris.
- If there is a gap or defect in the motor, replace the pump parts.
After the first stage, access to the shock absorbers/defenders opens. The simplest case is grease abrasion. To restore it, you need to unscrew the parts, extend the rod as much as possible, apply a thick, high-temperature, wear-resistant lubricant to its base and fold and unfold the mechanism several times.
After 10 years of operation, most often the depreciation fails completely. The drum begins to “beat” and make noise during the spin cycle, the machine begins to vibrate and “jump,” and leaks are possible. In such cases, experts recommend replacing the shock absorbers.
Lifehack
DIYers have found a way to restore defenders and shock absorbers. To do this, you need to remove the rod, as well as the sealing ring-locker. Pour out the “dust” of the gasket and replace it with a piece of leather belt, 2-3 mm thick and approximately 21 mm wide. The section is inserted into the defender body as a ring, with the smooth side facing the body. Next, the gasket together with the rod is treated with a wear-resistant and necessarily viscous lubricant. Machine oil will quickly drain and wear out; such repairs will only last for a couple of months.
Second phase:
- Remove the back panel.
- Remove the weight - the layer that lies on top of the tank.
- Next, remove the clamp that transmits rotation to the tank.
- Using a small screwdriver, press the tabs on the plugs to disconnect the wires from the heating element, tank and motor.
- Unscrew and set aside the motor.
- Disconnect the heating element and water sensors.
- Loosen the fasteners of the tank itself and carefully remove it.
- Remove remaining weight.
After the second stage, the tank is opened, which contains the drum of the washing machine. The detachable one can be easily disassembled, but most modern machines have a one-piece design. It will have to be opened by first treating the seam with sandpaper.
Third stage:
- Cut or unscrew the tank and set aside the top half.
- Remove the gasket or sealant, if there was such a layer.
- Turn the structure over and remove the flywheel on the rear wall of the tank.
Finally the bearing opened. But in order to remove it and lubricate or clean it, you need to free the drum. To do this, place the screw where the flywheel was, and use a hammer to knock the structure out of the “saddle” through the fabric. The pin will come out of the tank and the drum will be separated.
Advice
If you have little experience in disassembling washing machines, photograph each significant step and sort the screws so as not to confuse them later. This is especially important when connecting wires.
Fourth stage:
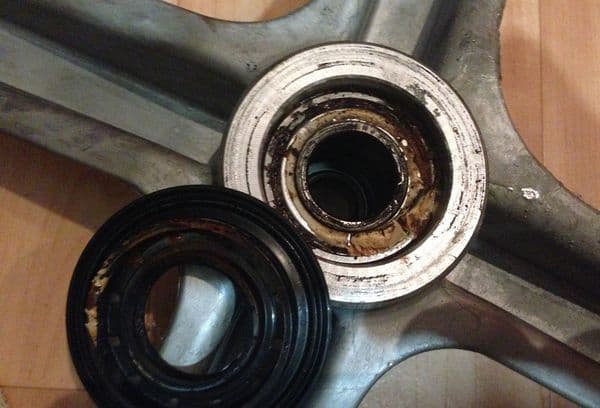
- Remove the oil seal.
- Use a pipe of suitable diameter to pull out the bearing.
It's easier to throw away a broken part. The collapsible one should be washed in oil or gasoline, and then filled with semi-liquid lubricant. Most often the bearing is simply replaced.
Important
If you want your work not to be in vain, buy replacement high-quality German or Polish bearings that are resistant to moisture and high temperature, vibration and wear.
Often the problem is found in the oil seal - the gasket remains without lubrication and breaks or becomes deformed. The faulty part must be replaced with a new one.When assembling, be sure to apply moisture-resistant grease (it is applied to the inner diameter along which the bearing will slide.
Having removed everything, you need to carefully inspect the bushing (the pulley on which the bearing and oil seal are actually put on). All rust and limescale must be wiped off. If scratches are exposed, it is useless to mask and polish them - the bushing will have to be replaced. The same thing happens if the original bearing has become stuck. Trying to cut it with a grinder will only risk the drum. Most likely, trying to free the bushing will damage it - it’s easier to install another one.
If the bearing is non-separable, it can be washed. To do this, the part is spilled with oil, placing a bag and rotating the disk to remove as much dirt as possible.
How to assemble a cut tank
The cut tank is covered with polyurethane or silicone sealant along the cut, and then closed with screws, nuts and self-tapping screws strictly along the entire perimeter. If the fastening is not secure, the tank will separate during startup!
According to experts, there is nothing difficult about disassembling a car. It is enough to be careful and know exactly what needs to be done. In practice, inexperienced craftsmen often make mistakes that cause the machine to fail. For novice repairmen, the magazine purity-en.htgetrid.com suggests starting with replacing components that are easier to dismantle, such as pumps or shock absorbers, and first testing more complex operations on an old machine that needs to be recycled.
Video: analysis of errors that led to machine breakdown after repair
In general, all operations are accessible; there are enough video tutorials posted on the Internet that will help you cope with repairing a washing machine yourself.
Very detailed article. Everything is clearly written. I changed the bearing without any problems and lubricated the necessary parts. Special thanks for the advice to photograph everything during the disassembly process. Now I always do this.