How to sew a cover for an ironing board with your own hands: updating old fabric
Sewing a cover for an ironing board is easy, the main thing is to know how to do it correctly and have a sewing machine. The need to replace the cover may arise if the old cover has worn out, lost its attractive appearance, or was accidentally burned through by a hot iron. During use, the old fabric gradually becomes clogged with dust, and after 10-15 years, when using a dirty board, you may encounter the problem of stains appearing on clean white linen.
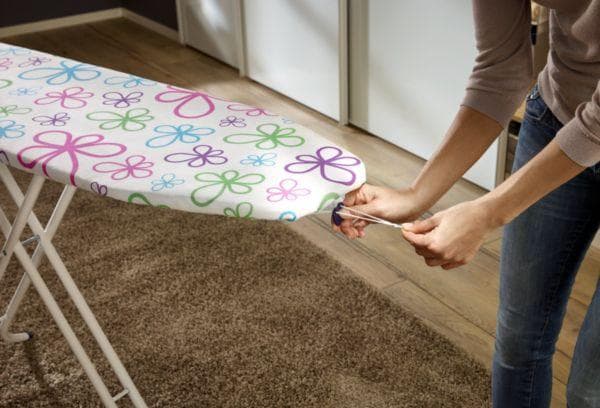
Of course, you can purchase a ready-made, new case in the store. But, if you need to replace the fabric on an old-style ironing board that has long been discontinued, it may not fit. In addition, when buying a finished product, you may not be able to guess the dimensions even for a modern board. As a result, the cover will dangle, form wrinkles and complicate the ironing process.
Rules for choosing fabric for a cover
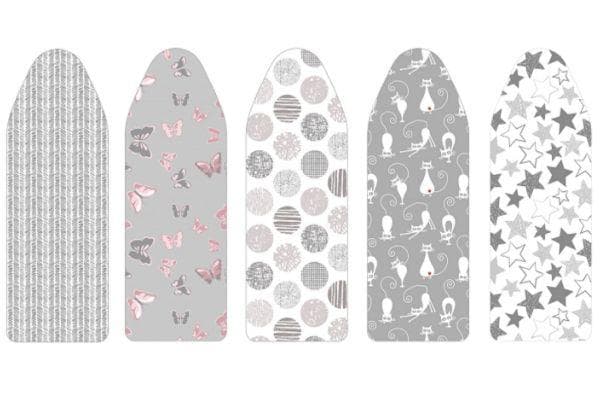
Cotton calico is considered the ideal option for upholstering an ironing board, although other types of fabrics can be used if desired. The main thing is that the material does not stretch. Otherwise, the new case will quickly become deformed.
When choosing fabric, you should also consider the following recommendations:
- The material must be resistant to shedding. When ironing using the steam mode, light-colored items may become dirty from the shedding cover and become unusable.To check whether the material is subject to shedding, you will need to wash it in a basin of warm, clean water. If the water remains clean after washing, then the fabric is suitable for sewing a cover, and vice versa.
- A cover that is too light in color will quickly become dirty and covered with yellow spots from the hot iron. Therefore, it is better to opt for darker colors. If you still like light-colored materials, then you can sew several removable covers and replace them periodically.
- The fabric used to cover the ironing board should not contain additives that will stick to the iron when it heats up. Firstly, you will have to constantly clean the soleplate of the iron so that it glides well on things. And secondly, a dirty sole can easily stain the item you are ironing.
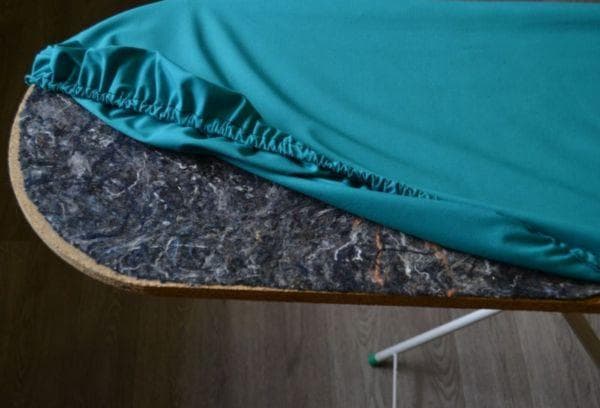
Do I need to change the substrate?
Replacing the lining located between the board itself and the fabric may be necessary in the following cases:
- If it became deformed or torn during the process of removing the old fabric.
- If the insulation is old, dirty and stains the laundry when ironing.
- If during use it has become leaky, resulting in the surface of the board becoming uneven.
To make the lining, any insulating material is suitable - foam rubber, synthetic winterizer or batting. You can also use felt or cut a lining from an old flannelette blanket.
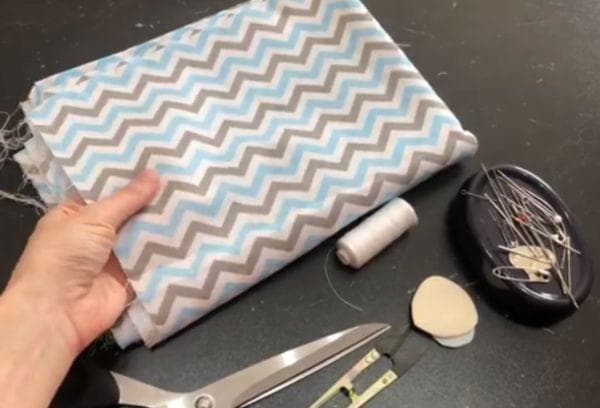
Materials for work
So, we have decided on the fabric for the top layer and backing, and now we need to prepare for the process of making the cover. To work you will need:
- Scissors.
- Long ruler or tailor's centimeter.
- A piece of sharpened chalk or soap, or a tailor's pencil specially designed for marking.
- Sewing machine.
- Tailor's pin.
- Threads in the color of the selected material.
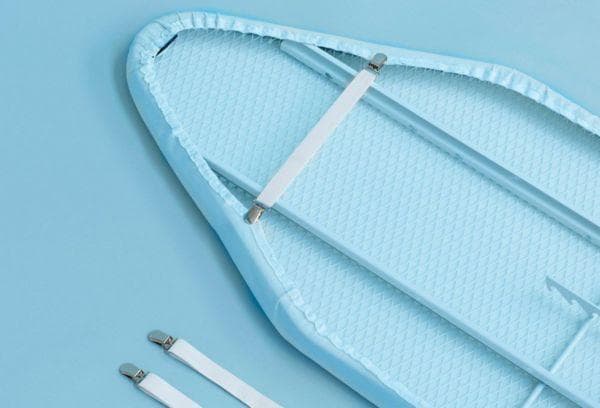
- Elastic band or long braid.
- Small round nose pliers.
Removable cover
First you will need to remove worn out, old fabric from the ironing board. This procedure is performed using pliers. Using the sharp end of the tool, pry the bracket, clamp it and carefully pull it out. Thus, it is necessary to remove all the staples that secure the covering to the tabletop.
Next, you need to remove the top fabric and inspect the backing. If it is in good condition, then the material is carefully washed in warm soapy water, dried and ironed with a lot of steam.
Now we proceed directly to cutting and sewing the cover itself. The procedure is performed in the following order:
- We lay the old fabric removed from the tabletop on top of a new piece of material and trace the outline with chalk. If desired, you can turn the board upside down, place it on the fabric and draw the outline of the tabletop. If you need to replace the backing, you will also need to make a pattern from padding polyester or foam rubber. The substrate is immediately fixed to the tabletop with a stapler.
- We make a seam allowance into which we will later thread the elastic. To do this, parallel to the previously drawn contour on the cotton fabric, we lay a line, which should be located at a distance of 6 cm from our contour.
- We cut out the part and put it aside.
- Now we cut the bias tape 10 cm wide, fold it in half along its entire length and iron it.
- We turn the edges of the binding inward by 1 cm and iron it again.
- Next, you need to use a needle and thread to baste the binding around the perimeter of the main part so that an elastic band can be threaded into the resulting drawstring.
- Using a sewing machine, we sew a seam along the basting seam.
- Remove the basting thread and, using a tailor's pin, thread the elastic into the drawstring.
If a cord is used instead of an elastic band, its ends are fixed with a special stopper. It can be purchased at any sewing supply store. This limiter is very convenient to use, as it is equipped with a locking button that allows you to tighten the cord as tightly as possible.
The cover for the ironing board is ready. All that remains is to put it on the countertop and start ironing the clothes.
Case secured with staples
The material fixed with a stapler will hold much more firmly and fit very tightly to the base. But, if you need to wash it, you will have to spend time and effort removing each staple.
If you do not want to make a cover with an elastic band or tape, you can attach it to the board using staples. In this case, a furniture stapler is used, and instead of tape, you will need to prepare a long strip of adhesive non-woven fabric 5 cm wide.
The edges of the main part are folded in by 5 cm and a strip of non-woven fabric is inserted into the resulting fold. Then heat the iron and iron the fabric so that the interlining sticks well to the material. The result should be a part with compacted edges that will ensure the strongest possible fixation of the staples.
Now you need to properly attach the cover to the tabletop.
- Lay out the piece on the ironing board and secure it to the backing with tailor's pins.
- We arm ourselves with a stapler and attach the right edge of the cover to the back of the tabletop with three staples.
- In the same way we fix the left edge of the product.
- Now we tighten the fabric and place one staple in the middle of the sides.
- Alternately pulling the fabric up, we attach it to the sides of the tabletop. We put folds on the roundings, securing them with 3-4 staples.
There is no need to over-tighten the material. As a result, the front side should be perfectly smooth without distortions or folds.
This method can only be used to update pressed wood ironing boards. For metal structures, an option with a cord or elastic band is suitable.
