Ready for winter! I made a non-freezing water tap in the yard at the dacha. 3 easy ways
Do you also leave the tap “undermined” in winter so that the water does not freeze and the pipes do not burst? I did this for several years. And then he struggled with the thick layer of ice that was spreading across the area in front of the dacha. It’s slippery in winter, muddy in spring, and it’s a shame - so much water flows away in vain.
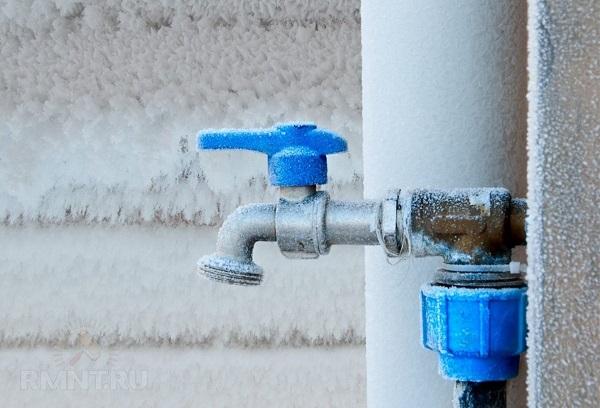
But my friend Seryoga came to my dacha. We sat down in the shade and drank a glass of... kvass. And Seryoga, who worked as a plumber all his life, asked:
- Why don’t you do normal water collection?
- Am I crazy? – I was surprised.
- How can I tell you...
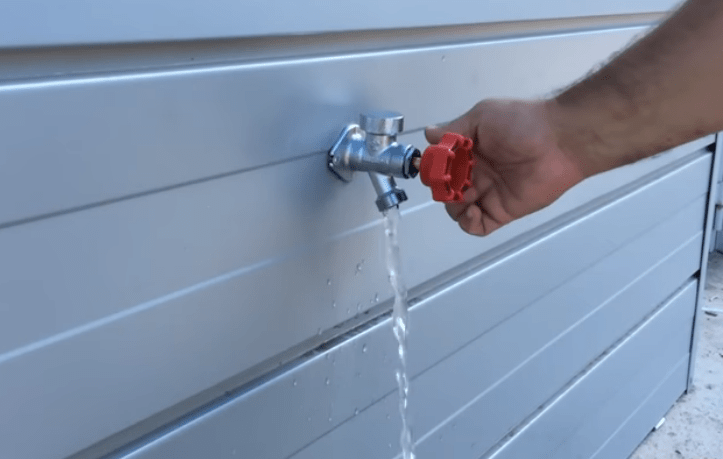
And Seryoga told me how to make a water tap that does not freeze even in severe frosts. And without any leaking streams.
Scheme No. 1
What you will need:
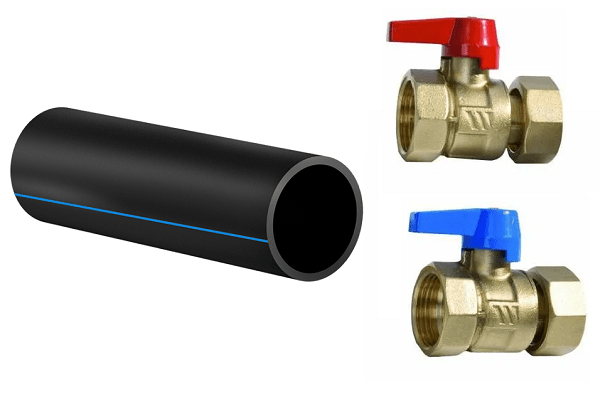
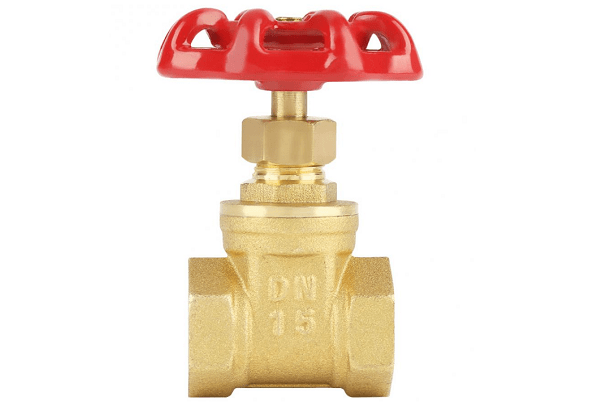
- 2 ball valves - regular and with a drive (American).
- A piece of water pipe. Calculate the length as follows: the wall of the house + the area that should protrude outward.
The scheme is as simple as five kopecks:
- Drill a through hole in the wall sloping towards the street. The diameter is slightly wider than a water pipe. Estimate by eye that a small layer of thermal insulation will fit.
- Wrap the pipe in mineral wool and push it through the wall.
- Connect the drain to the home water supply system through a ball valve.
- Seal the hole around the pipe with plaster to prevent moisture from penetrating into the wall.
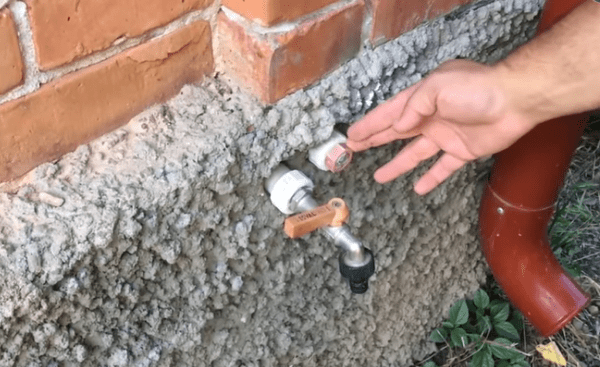
- Install the faucet with the American one outside.
Ready!
What I liked
It is very easy. Even a person who has never pulled a pipe can handle it.And it takes little time - a couple of hours at most.
What I didn't like
Need water outside? You go into the house, turn on the tap, return to the yard and use it.
No longer needed? You turn off the water outside, go back into the house, and turn off the tap there. You return and drain the remaining water in the pipe.
Walking here and there is little pleasure.
Scheme No. 2
The second option is technically more difficult, but more convenient.
You will need:
- 1 ball butterfly valve.
- Corner.
- "Extension" for the rod. It is made from a regular PPR pipe.
- Rotary handle.
This system is a real hymn to the ingenuity of Russian men. Tricky, easy and very simple - when you see the finished system.
- Drill a hole in the wall. Diameter: so that a pipe wrapped in mineral wool can fit through. And don't forget about the slight slope towards the street!
- Connect the pipe to the house water supply through the angle.
- Place the faucet not on a horizontal drain, but on a vertical water pipe.
- Drill a through hole exactly opposite the faucet.
- Make an extension for the rod. Cut a piece of PPR pipe. Length: distance from the tap to the walls + wall width + protruding area for attaching the handle. Then cut the connectors in the end of the pipe so that they coincide flush with the valve butterfly.
- Slide the extension cord through the wall and onto the bow tie.
- From the street side, install a rotary lever or the same butterfly on the PPR pipe.
Assemble the structure as much as possible without any backlash so that the extension cord does not “walk.”
What I liked
It's comfortable. If you need water, turn the tap and place a bucket. Not needed - just block it. You don’t need to run from house to house, you don’t need to open different taps ten times, and in a strictly defined sequence.
What I didn't like
Unreliable design.A homemade extension cord fidgets back and forth, falls off, and adjusting it in winter is inconvenient. If the PPR pipe does break, it will have to be disassembled and rebuilt. In the winter frost - such a joy.
Scheme No. 3
With solenoid valve. For myself, I chose this option.
You will need:
- Automatic water valve. Don't skimp, take a reliable one with a brass body.
- A piece of pipe, slightly longer than the wall.
- Corner.
Installing a solenoid valve is no more difficult than a regular one. If you are afraid of “complex electrics”, you shouldn’t be, it’s all inside the case, you won’t have to come into contact with it.
- Pull the pipe through the wall and connect it to the house water supply through the corner.
- Install the solenoid valve above the drain level.
- Drill a thin hole in the wall and run the wires from the automatic shutter outside.
- Install and connect the control unit. Choose a place at a height of about a meter - not only adults, but also children may need water.
And don’t forget about the visor that protects the control unit from rain and snow. To begin with, I used a cut-off plastic bottle, then bought protection for a street bell. I stood up like a native.
What I liked
Yes all! Simple, fast, convenient. Stand there and press the button - civilization!
Seryoga, if you are reading this, thank you again for your advice!
What I didn't like
Price. I bought the valve for 1500 rubles. Of course, there are options for 300-400 rubles. But I think it's better to pay for quality plumbing than to pay for new renovations.
