5 ways to tie a St. George ribbon beautifully: how to make a bow, star, loop and other shapes step by step
Content:
Before the holiday of May 9, shops and stores are full of brooches and bows made from orange and black St. George's ribbon. Many people buy jewelry, but there are situations when you need to tie the St. George ribbon yourself. The traditional way of wearing the symbol is in the form of a loop, pinned to the breast pocket of a dress uniform.
How to wear the St. George ribbon correctly?
Today, the St. George ribbon is associated with the Victory Day, which is celebrated annually on May 9. It is used to decorate greeting cards, all kinds of crafts, and is used on car stickers.
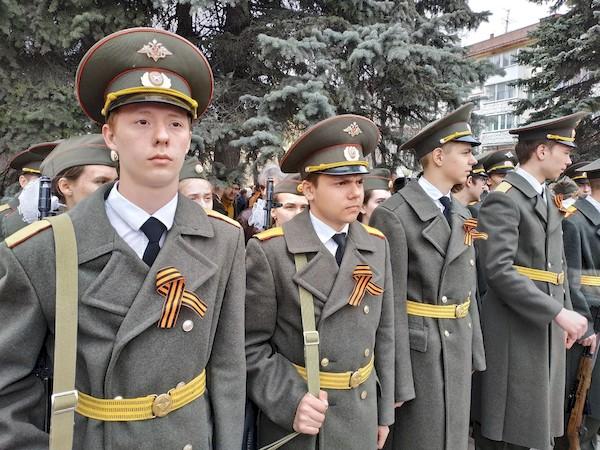
The St. George ribbon, pinned to clothes on May 9, symbolizes gratitude to the veterans of the Great Patriotic War for the liberation of their native land from the German invaders and salvation from the Nazis.
In this case, the method of tying it is not particularly important. It can be a regular loop or an elaborate brooch, as you like. The important thing is that a person honors the memory of his ancestors.
The symbol is pinned to the breast pocket of the dress uniform on the left side.
The traditional way of wearing is preferred. It is not recommended to use the ribbon as a decoration for hair or a backpack, keychain, belt, tie, etc. It must be remembered that Victory Day is a holiday of both joy and sorrow for the dead. The St. George Ribbon is a symbol that requires respect.
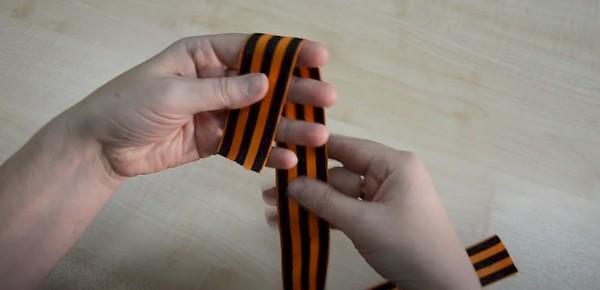
How to tie a St. George's ribbon step by step - instructions
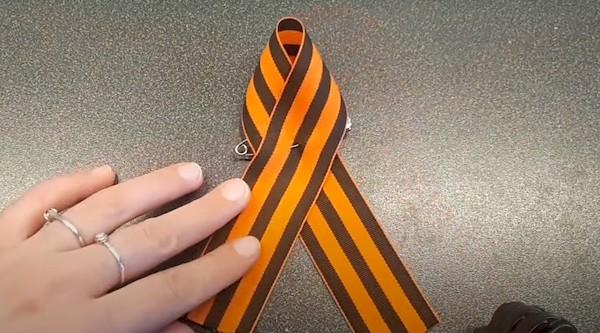
The easiest and neatest way to tie a St. George ribbon is to make a loop out of it and immediately pin it to your uniform or shirt. It is equally suitable for men, women, boys, girls and children.
Necessary materials:
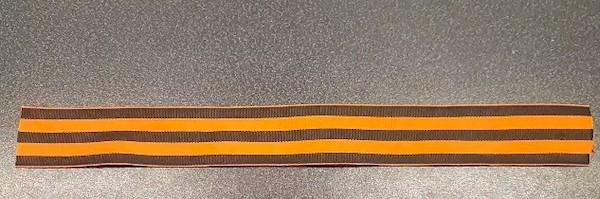
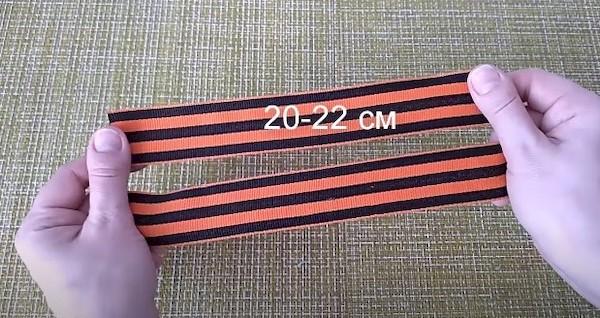
- a piece of orange-black tape – 20-25 cm;
- scissors;
- medium size pin;
- lighter.
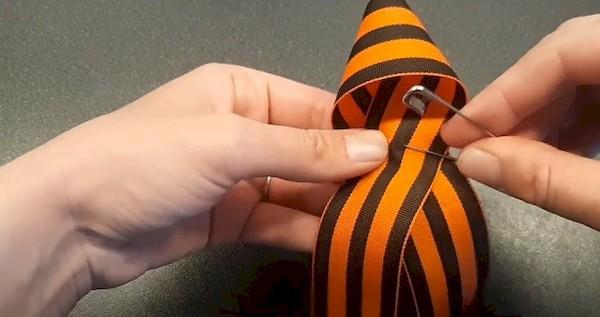
We make a loop step by step and pin it to the clothes:
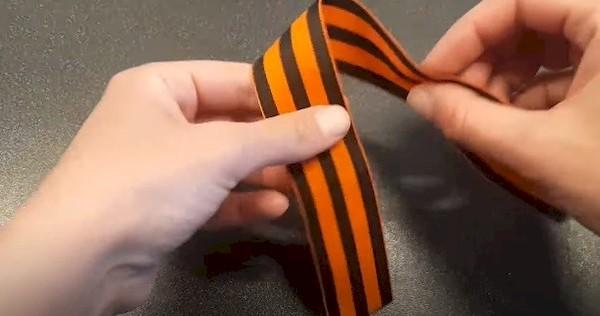
- Fold the ribbon in half.

- Grip the center of the workpiece with your fingers.

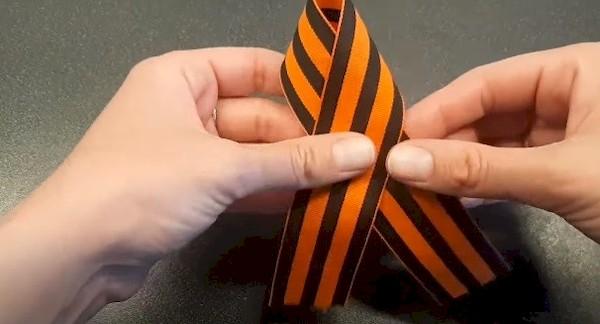
- Place the ribbon in this area crosswise with the bright side facing up.
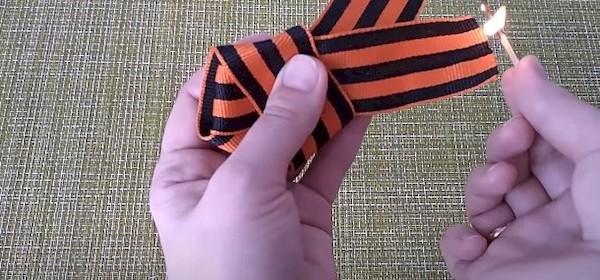
- Cut the ends of the ribbons at an angle or with a flag.
- Hold the cut areas over the fire to melt slightly (prevents the tape from unraveling and the appearance of protruding threads).
- Try on the decoration: attach it to the place where it is attached to the clothing.
- Place a pin from the inside out.

- Pierce the fabric at the intersection of the two ends of the ribbon, stretch the pin 0.5-1 cm. Repeat the puncture, and the end of the pin is on the wrong side. You can zip it up.

Advice. To make your jewelry look unique and beautiful, use a brooch of the appropriate theme instead of a pin.
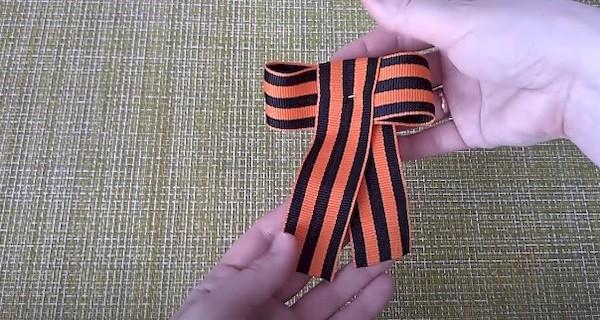
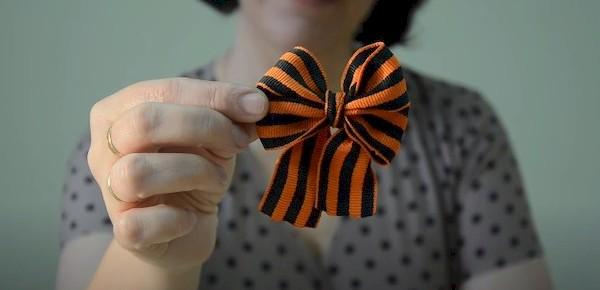
Method number 1 - simple bow
One of the most popular ways to tie a St. George ribbon today is a simple bow. To make it beautiful and not twist, you can fold it from two short pieces.
Materials you will need:
- pieces of ribbon 20 cm long – 2 pcs.;
- scissors;
- pin.
How to make a simple bow from two ribbons:
- Place the first tape in front of you. Tuck the ends to the center and overlap by about 1 cm.

- Throw the second tape over the center of the first part.
- Hold the workpiece at the joint.
- Spread the ends of the second ribbon apart.
- Secure the bow with a pin.
You can make a voluminous double bow in a similar way. To do this, you will need a third piece of ribbon 17-18 cm long. It needs to be folded with the ends toward the center, following the example of the first ribbon, and placed on top. Example in the photo:
Advice. To prevent the bow from falling apart, sew several stitches at the junction.
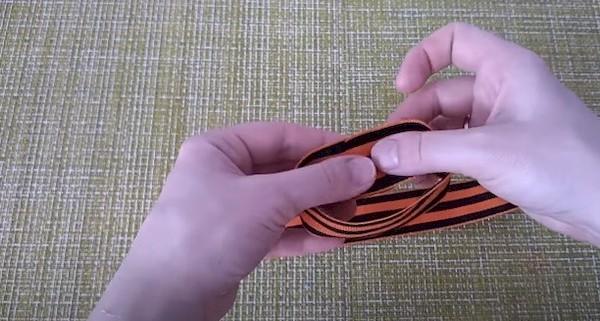
Method number 2 – graceful bow (female version)
A playful and simple bow made from a St. George's ribbon will be a worthy decoration for a woman's dress uniform. The easiest way to tie it is on your own palm.
Necessary materials:
- ribbon cut – 50 cm;
- scissors, match or lighter to seal edges.
How to tie the St. George ribbon into a beautiful airy bow:
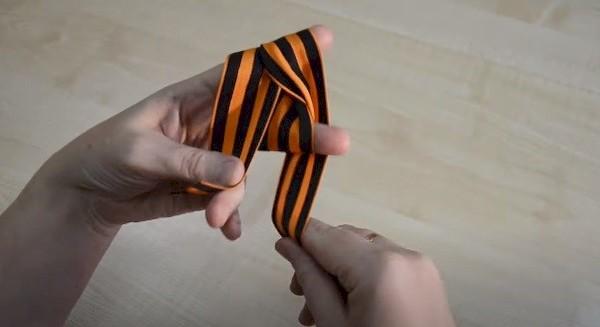
- Place the end of the tape on your palm. Approximate length – 15 cm.
- The index and middle fingers should be spread apart. The thumb holds the edge of the ribbon on the ring finger. We work with the opposite end.

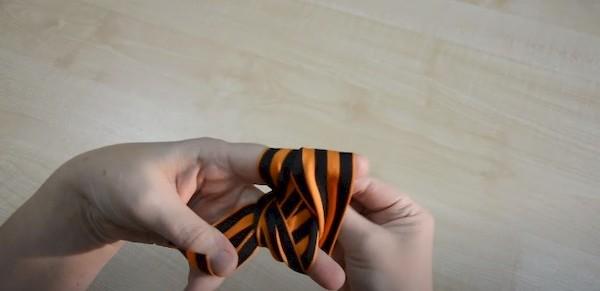
- We draw the ribbon hanging from the index finger along the back of the hand and bend it around the bottom of the middle finger. We head up to the index finger and go around it, winding the ribbon from the back side. We return to the middle finger on the side of the palm, and also wrap it around the back. The ribbon lies crosswise. Photo:

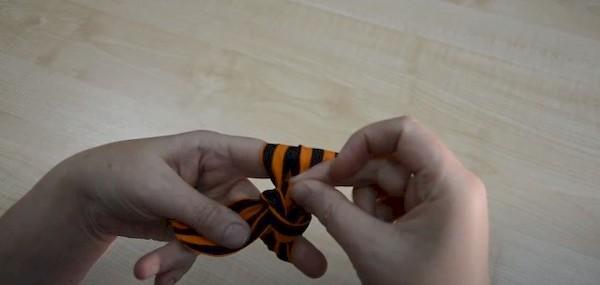
- Now the tip needs to be inserted into the space at the base of the index finger. Go around the back side of the workpiece, pulling the ribbons a little, and bring it to the center of the palm.

- We tie the working end, catching on the bottom loop, and tighten the elegant bow. Like this:

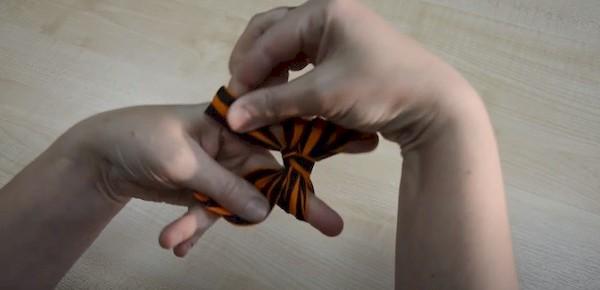
Ready! You can remove the bow from your fingers and attach it to your clothes in any available way.
Master class video:
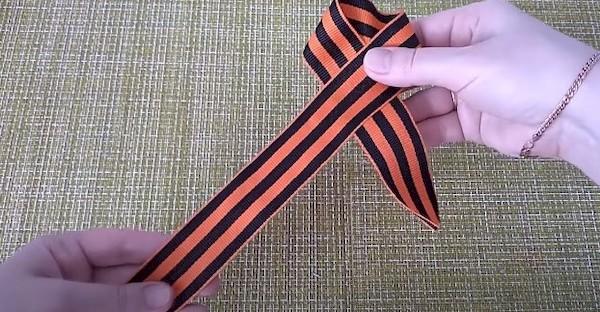
Method number 3 – corner (male version)
A strict and stylish decoration made from St. George's ribbon is ideal for boys, guys and adult men. You can fold it in 1 minute.
You will need:
- a piece of ribbon of medium thickness – 40 cm;
- scissors;
- matches or lighter;
- pin.
How to tie a ribbon with a corner step by step:
- We make a classic loop, but so that the end of the ribbon on the left side is 10 cm longer.

- We bend the long end back and lead it up. Draw under the right ribbon. We take out the tip in the center of the loop.

- Lightly tighten the edges. You will get a neat corner.
- We thread the long end into the jewelry pocket and bring it to the same side as the other end.
- Trim the ends to the same length. If desired, make oblique cuts and seal the threads with the flame of a match or lighter.

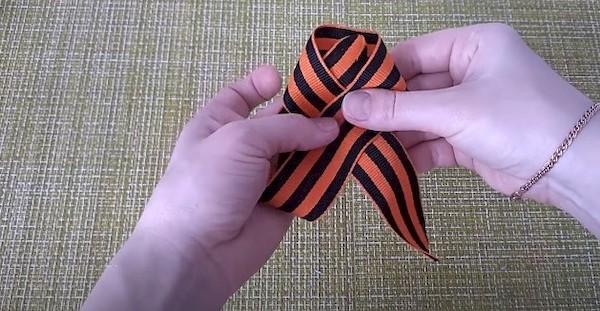
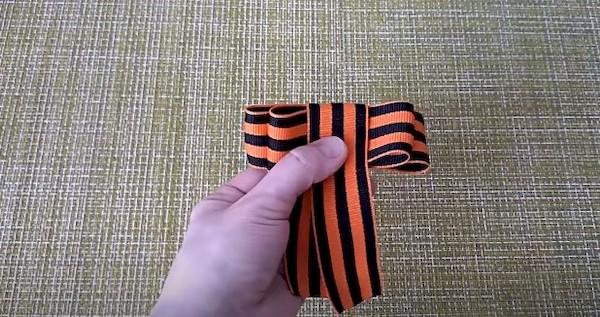
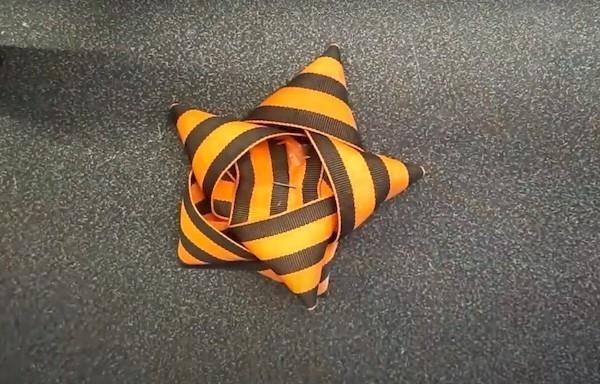
Method No. 4 – brooch made from St. George’s ribbon
For the Victory Day parade, you can prepare a beautiful brooch in the shape of a star. This is another symbol of the holiday.
You will need:
- black and orange ribbon – 30-40 cm;
- scissors;
- pin.
Step-by-step instruction:
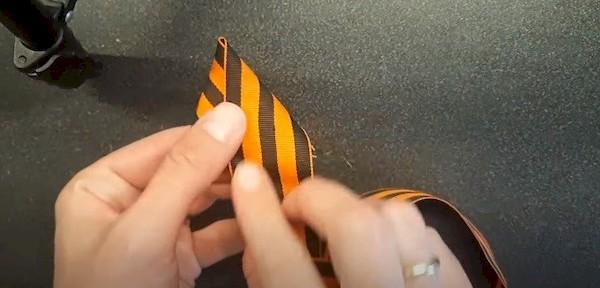
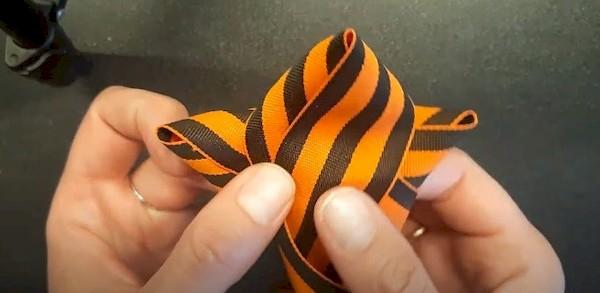
- Pinch the end of the tape between your index finger and thumb.
- Bend at a distance of 10-15 cm, and overlap the end being held. You should get a triangle.

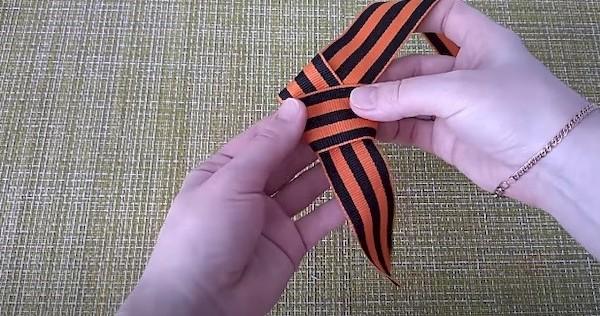
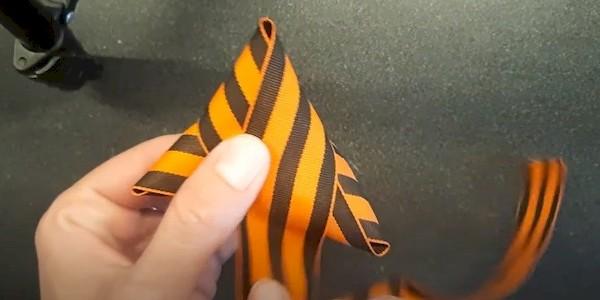
- Holding the junction of the tapes, rotate the workpiece 180 degrees.
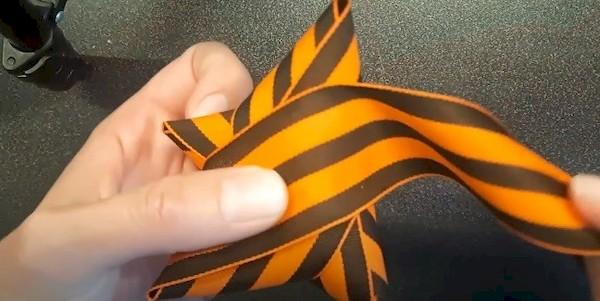
- Repeat steps from step 2. You will get a rhombus.
- Turn the workpiece again and form a triangle on the side of the first one. Example in the photo:

- Fold the fourth triangle on the opposite side.


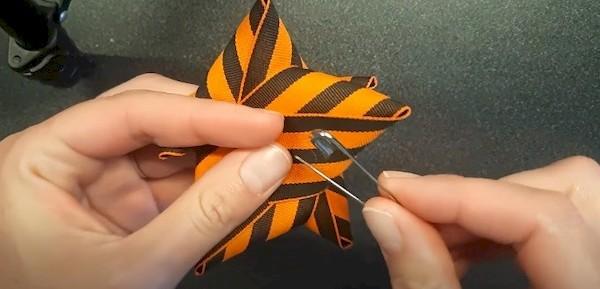
- Turn the almost finished brooch one last time and form the fifth corner of a five-pointed star.
- Cut off excess material.
- Place a pin in the center of the brooch.

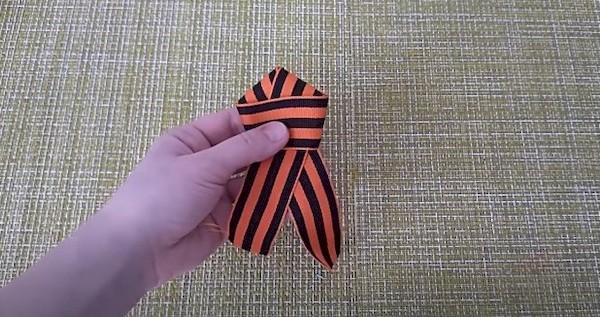
Method number 5 – a rose for a girl or little girl
A brooch made from a St. George ribbon in the shape of a rose looks beautiful and original. Folding it is not much more difficult than tying a bow.
With the help of photo instructions you can do it in 5 minutes. Let's prepare materials:
- St. George's ribbon – 40-50 cm;
- pin.
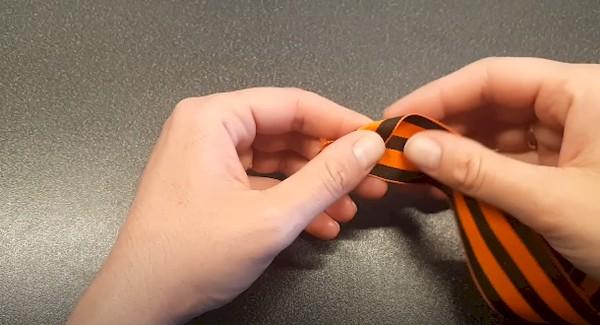
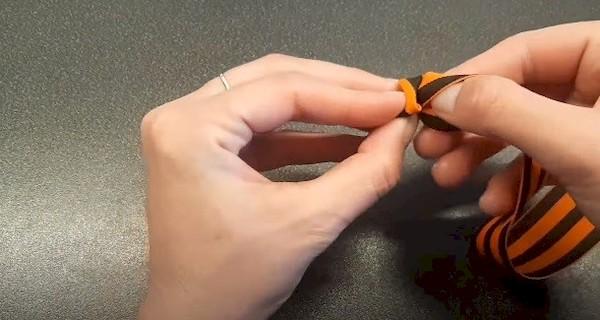
How to fold a rose from a St. George ribbon step by step:
- Place the tape horizontally in front of you on the table.
- We start folding from the left end.
- Fold the top corner down.

- Fold the end 0.5 cm inward diagonally to form an acute angle at the top.
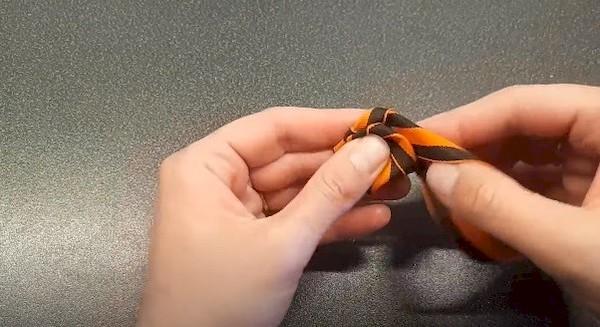
- Place your thumb from the wrong side in the center of the tape, and lift it to the top edge. Photo:

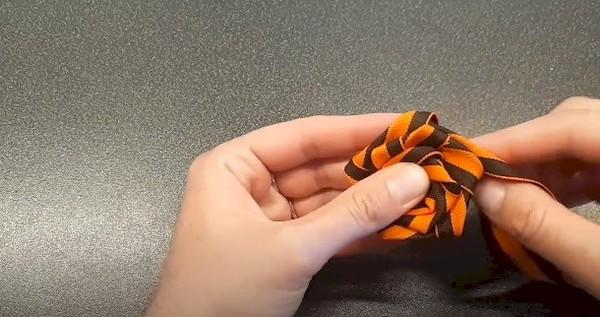
- Cover with the left end of the workpiece and wrap.
- Place your thumb again in the middle of the tape and lift it up.

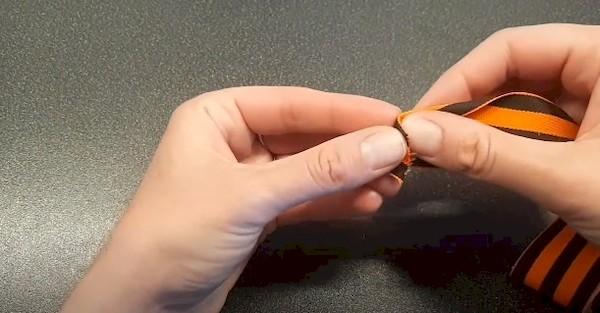
- Make one revolution of the workpiece.

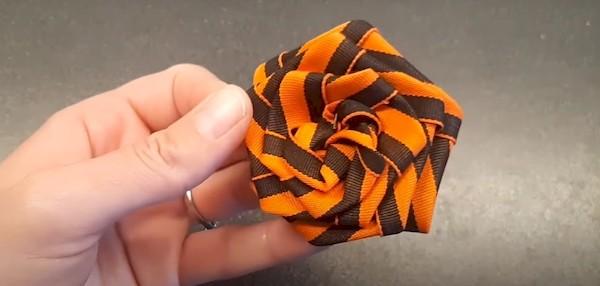
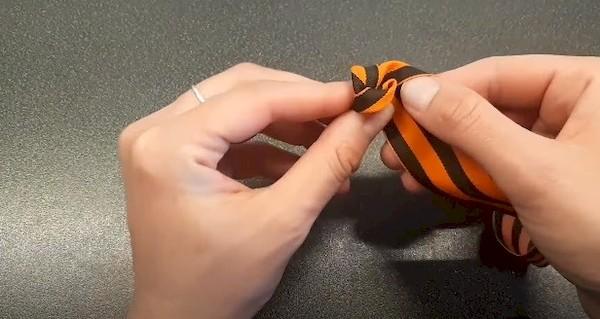
- Holding the workpiece in the center, repeat the steps described in steps 7-8 until the cut ends (17-18 times).

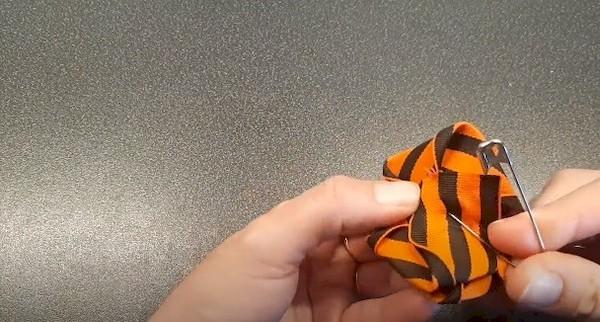
- Secure the rose with a pin from the wrong side in the center.


How to attach the St. George ribbon to clothes?
Usually the ribbon is pinned to clothing with a simple pin. But other options are also possible:
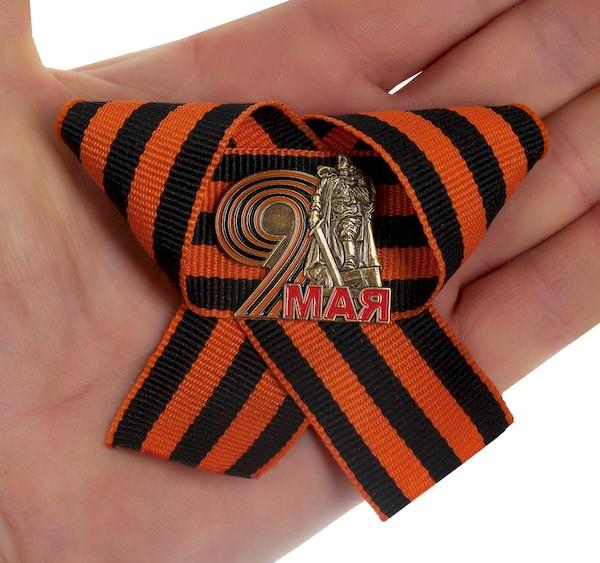
- Pin with a badge depicting a carnation, the Russian flag, military equipment, monuments to soldiers, or a thematic inscription. This option has several advantages: the badge serves as an additional decoration and is conveniently fastened to the front of the ribbon, and not from the inside of the clothing. In addition, the clasp on the badges is, as a rule, safer and reliably protected from arbitrary unfastening during wear.

- Sew to the dress uniform. The most acceptable option for children, since it eliminates the risk of being pricked by an unfastened pin.
- Glue to the badge blank.All sewing and craft stores sell pin badge bases. They cost pennies - up to 15-20 rubles. a piece. The ribbon is glued with hot glue and does not twist during wear. It turns out to be a full-fledged brooch, just like a store-bought one.

Useful tips
Tying a St. George's ribbon for a parade or craft is not difficult at all. A few tips to help:
- To make the ribbon decoration even and neat, do not rush to tighten the knot. Adjust the edges and straighten the fabric. Pull the knot smoothly to avoid unnecessary folds.
- The thicker the ribbon, the larger the brooch should be, and vice versa. Then the figure will look symmetrical.
- It is good to make a kanzashi style decoration from a thick ribbon.
- Give preference to grosgrain ribbon rather than satin. It does not form puffs and lasts longer.
- If the ribbon is made of thin and loose material, you can strengthen it with regular PVA glue. It is necessary to dilute it 1 to 1 with water, soak the tape, wrap it in film or a bag, cover with a press, and leave to dry in a warm place. After drying, the glue will become transparent, and the tape will be dense and flexible. Brooches and bows will keep their shape well.
Question answer
How not to tie a St. George's ribbon?
It is not customary to tie a ribbon in a knot around objects. For example, you should not tie it on the handles of a bag or belt loops on trousers. There are also no flowers or hair tied to her. The symbol must be treated with respect and not used in places where it will quickly get dirty (instead of shoe laces, a leash or a collar for an animal).
What is the history of the St. George's ribbon?
The history of such a popular symbol today begins in the 17th century. Russian Empress Catherine personally selected the colors for the award ribbon.As planned, the orange color symbolizes flame, black symbolizes smoke during battle. For several centuries, the ribbon has meant valor, bravery and honor. Awards with it, in particular the Order of St. George, were given for special achievements in military affairs. They forgot about the ribbon for a short time after the October Revolution, replacing it with ribbons of a different color.
In 1943 the traditional symbol was revived. The most honorable orders for participants in the Great Patriotic War were attached to the St. George ribbon. The ribbon began to be tied and attached to clothing en masse in the early 90s. The ranks of veterans at the May 9 parade thinned, and people found a way to make sure that the St. George ribbon did not disappear, but annually reminded of the feat of their ancestors, of the victory over the fascists and German invaders.
Wearing the St. George ribbon over the heart is an honor for a Russian person. Almost every family has great-grandparents who participated in the Great Patriotic War. You can tie a ribbon into a bow or pin a simple loop to your clothing. There are many options, and each is beautiful in its own way.