How to make marble eggs for Easter with onion skins and brilliant green
Every year, the holiday of Easter brings warmth, light, joy and prosperity to every home. According to an ancient custom, on this day it is customary to give colored eggs to people near and dear to your heart as a symbol of eternal life. This time I want to tell you about an original way of decorating Easter eggs - “marble” colors are especially impressive and completely safe for health. So, we will paint the eggs with onion skins and brilliant green.
What is better – brilliant green or paint?
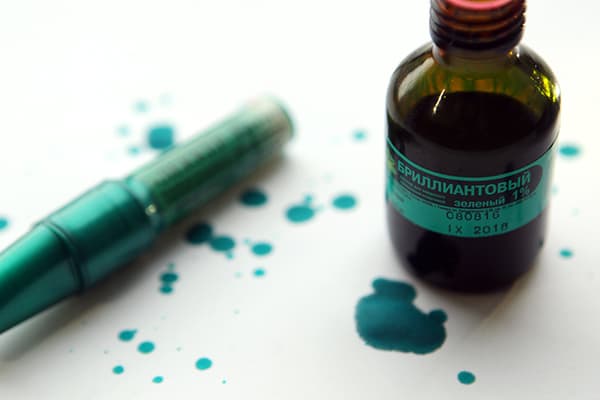
Despite the doubts of many regarding the harmlessness of the main coloring ingredient - brilliant green - I hasten to assure: the most popular product of every home medicine cabinet is a hundred times more useful than any food coloring, which experienced and wise housewives have long abandoned. And participation in the process of coloring onions does not raise any questions at all. This is the most traditional and time-tested method of coloring Easter eggs.
Important recipe secrets
The procedure for painting Easter eggs with onion skins and brilliant green is not complicated, but it is important to carry out a number of preparatory measures in advance.
- To avoid cracks in the shell, the eggs should first be warmed to room temperature for thirty minutes - in warm water or simply left on the kitchen counter.
- It is important not to overcook eggs - with prolonged heat treatment they lose their beneficial and taste properties. Would you like to enjoy some rubbery protein?
- When cooking, it is recommended to add 2 tablespoons of salt to half a liter of water. Salt will further strengthen the shell.
- If you want to achieve an even color, the eggs should be washed in advance with soap or soda, wiped with vinegar or alcohol to degrease the surface - this will allow the paint to be evenly distributed over the shell.
- It is better to add a couple of tablespoons of vinegar or lemon juice to the coloring solution - this will additionally protect the color.
- After coloring, for shine, you need to grease each egg with a cloth soaked in vegetable oil.
- And, perhaps, the most important thing in this case is to quickly get rid of green stains, if something happens, you can use a regular solvent or nail polish remover.
How to make marble eggs easily and simply
I offer you a step-by-step photo recipe for coloring eggs that will definitely not leave anyone indifferent.
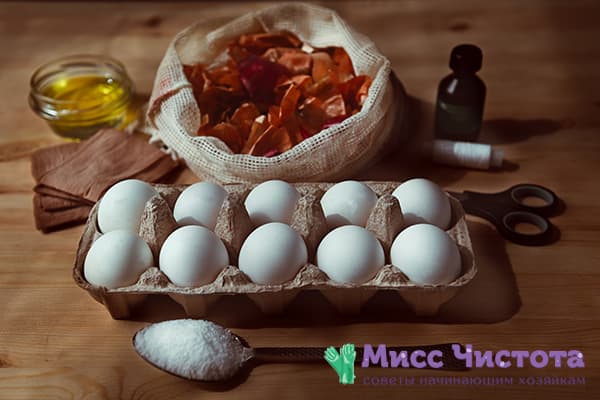
You will need:
- raw eggs, 10 pieces;
- onion peels of different varieties, 1 liter (measure the volume in a liter jar);
- gauze or nylon tights;
- threads;
- bottle of brilliant green;
- 1-2 tablespoons salt;
- gloves;
- scissors;
- vegetable oil.
If you use peels from different varieties of onions - onions and red ones - the color of the eggs will be more saturated.
Master class on making dyes
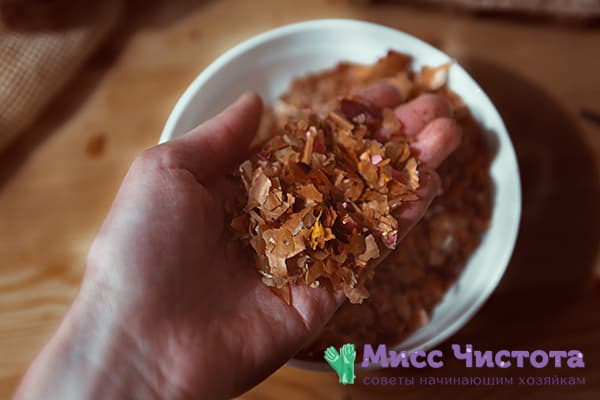
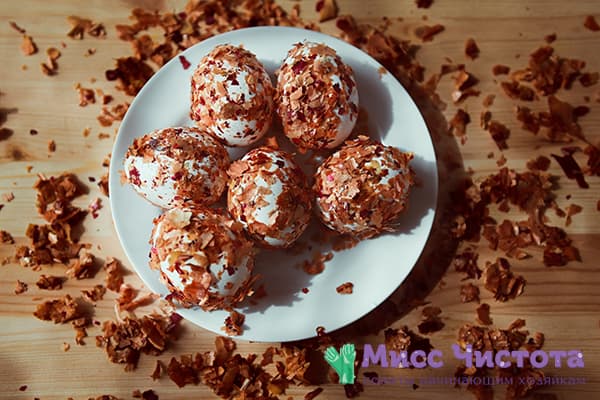
- Cut the onion skins into small pieces. To do this, dry peelings should be placed in a bowl and randomly cut with scissors (see photo). The result will be even more creative if you use a blender when chopping. Future specks on the eggs will be clearer and smaller.
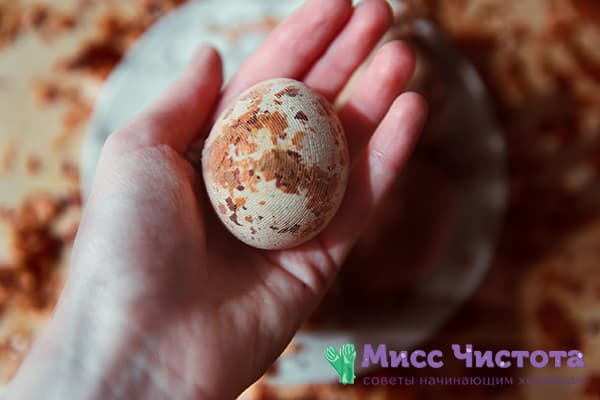
- Prepare the eggs using the above method - wash and degrease.Moisten them with water and carefully roll them in the chopped “breading” peels, so that the onion “confetti” tightly covers the entire surface of the egg. You can add finely chopped pieces of paper to the husk - they will add additional shades to the shell. But it is important that the amount of paper is 2-3 times less than the main onion dye.
- Wrap each egg tightly with nylon and secure with thread. You can also use a piece of gauze measuring 15 by 15 cm. The excess edges of the gauze should be trimmed so that they do not interfere with dyeing the eggs.
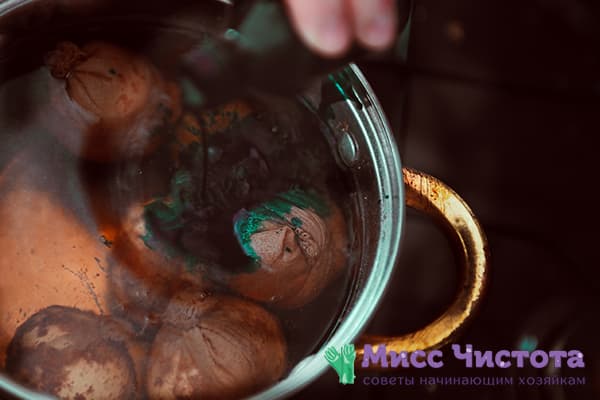
- Place the nylon bags with eggs into a pan (not enameled and preferably not the newest one, since in the process it risks being mercilessly stained). Fill the dyes with cold water so that it covers them completely, and set to cook.
- After the water boils, add a bottle of brilliant green to it and cook the eggs for another 10–15 minutes. One bottle of brilliant green is enough for a dozen eggs. Accordingly, if you are going to use more products, the dose of brilliant green should be increased. And in general, in this recipe, as elsewhere, the elementary rule works: the more dye, the brighter the color.
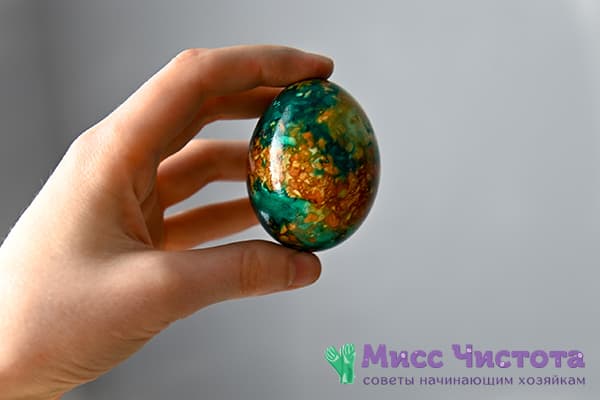
- At this stage, use gloves that will protect the skin of your hands from staining. Remove the eggs from the pan, unwrap them and peel them. Rinse well under running water. During drying, the pattern may float, so the finished eggs should be turned over periodically or wiped with a paper napkin. Don't forget about vegetable oil, which will make them shine like real polished marble.
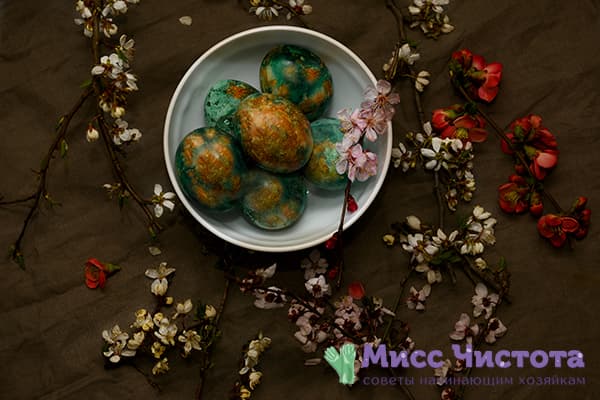
- You can admire the spectacular painted marble eggs, which will not only decorate the holiday table, but will also become an unusual gift for Easter!
In this way, following the simplest instructions step by step, we painted eggs with onions and greenery and made sure that the original design of colors for Easter is not always difficult and expensive. Cute eggs were made from affordable and familiar ingredients, and the result exceeded all expectations. Highlights, transitions, shades of color make marble eggs a work of art. Let their preparation become a good tradition in your home!
Thanks for the recipe. I will definitely use your advice.
It turned out VERY beautiful!!! I wish my piggy bank would remember this lesson for next EASTER!!! Happy Holidays to you))
Easter eggs can be stored for quite a long time (this is when the children have collected enough of them)... But if they are greased, it is better to eat them right away. And the rest of the recommendations are pretty vague.
Testicles - in men. And eggs are painted for Easter!