Saving neighbors from flooding - simple ways to eliminate leaks in pressure pipes
The need to eliminate leaks in pressure pipes arises when a pipe in a plumbing or heating system ruptures. This situation occurs infrequently, so most residents of apartment buildings or cottages are not prepared to deal with leaks. We’ll figure out how to deal with the problem using available tools, and also list the tools and materials that should be in every home.
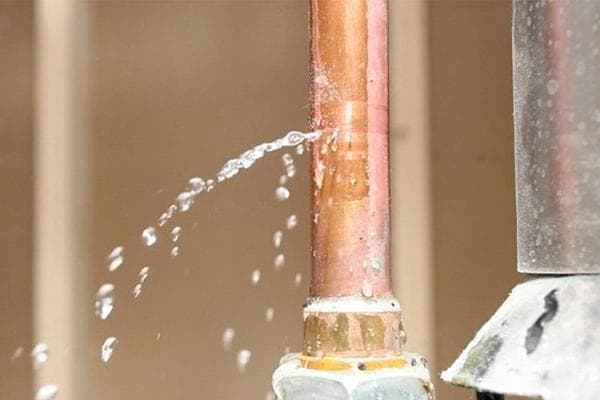
Algorithm of actions when a leak is detected
Quickly fixing a leak will help you avoid many problems: soaking the floor and walls, flooding your neighbors, wasting money and nerves.
The procedure for detecting a leak is as follows:
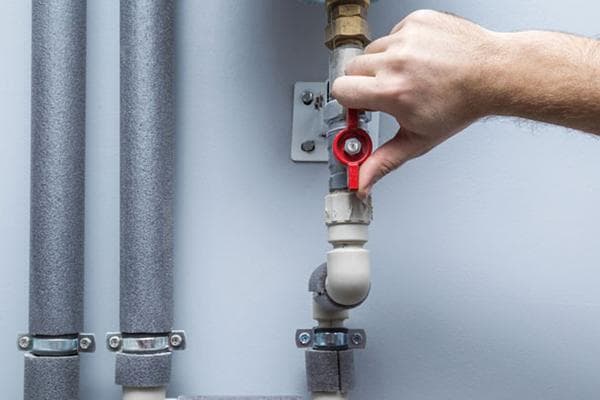
- Quick inspection of the scene. If a leak occurs in the pipe section inside the house (after the valve), you must immediately shut off the water supply. If the fistula occurs in the central riser, the valve will not help.
- Notify emergency services about a pipe break. Write down the time of the call: this will help prove your innocence in disputes with neighbors if you have to wait too long for a locksmith.
- Try to minimize water damage. You need to place a basin under the leak to collect the liquid, and throw rags on the floor to absorb the water. If the leak occurs in a heating pipe, a thick blanket thrown over the fistula site can help.
- If possible, block the leak using the means available at home.
Broken hot water pipes are especially dangerous.Heating fluid or heated tap water can cause painful burns. If you have to deal with a fistula in such a pipe, wear thick clothes and protect your eyes with construction glasses.
Material for sealing leaks should be stored in every home. If you act decisively and know what to do, it is quite possible to minimize the damage.
How to deal with a leak while you wait for a mechanic?
The easiest way to seal a fistula that occurs on a straight section of a heating main or water pipe (it doesn’t matter whether it is located vertically or parallel to the floor). Depressurization of threads, cracks in places where pipes turn or branch are more difficult, but they can be dealt with. We offer five simple ways to deal with pipe damage.
Method No. 1: Rubber bandage and clamp
To seal the fistula, you will need a rubber bandage, which can be found in your first aid kit. If you don’t have such a bandage at home, you can take a piece of rubber (for example, cut the tape from the bell of a thick work glove). The fistula is wrapped in several layers with elastic tape. The coils are placed with tension, and each one should overlap the previous one by about half the width of the bandage.
A clamp is placed over the wound bandage. There are several options:
- Noose made of thick copper wire. The bandaged fistula is covered with wire, the ends are crossed, and then the noose is tightened by rotating the inserted lever (for example, the tip of a screwdriver). The disadvantage of this method is that the wire may break.
- Thin steel plate. A plate bent in an arc covers the bandage, bolts are inserted into the holes at the ends, and the nuts are tightened with a wrench. The disadvantage is that you can’t get to every place with the keys. In addition, such a record will not be found in every home.
- A special clamp made of a perforated metal strip and a lock with a screw inserted inside. It is enough to cover the place where the clamp is applied with a strip, insert the tip into the lock and turn the screw several times with a screwdriver. The disadvantage is that the clamp is not found in every home.
Here's what can be said about the effectiveness of the method:
Method number 2: Self-tapping screw or wooden chopper
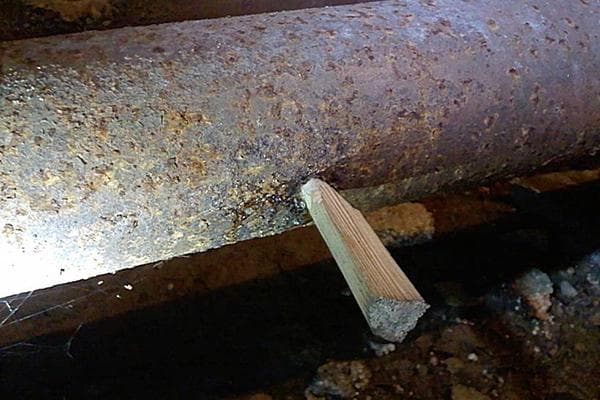
Often a hole in a cast iron pipe resembles a small puncture from a nail. Until such damage spreads further, you can repair it using an ordinary self-tapping screw. To do this, place a circle of thick rubber under the cap, and then screw the self-tapping screw into the hole.
Instead of a self-tapping screw, you can use a chopik - a cone-shaped wooden plug. The plug is inserted into the hole and carefully hammered in with gentle blows of a hammer. Swelling from water, the tree pushes the walls of the hole even more tightly, reliably blocking the leak.
Both the self-tapping screw and the chopik can only serve as a temporary measure. These methods should be used only if other materials are not at hand. There are two reasons for this:
- During the screwing process, the plug can further expand the fistula.
- The part sticking out inside the pipe will begin to collect dirt, which will speed up the clogging of the pipe.
Method evaluation:
Method No. 3: Bandage and table salt
The old method, the main advantage of which is the availability of components. You will need an ordinary gauze bandage and table salt.
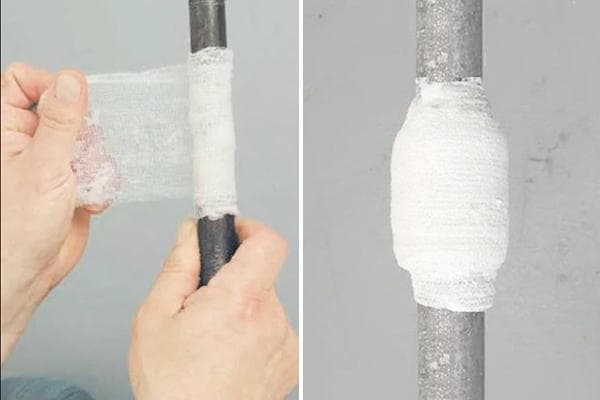
The bandage is applied like this:
- One or two rounds of bandage are placed on the fistula.
- The wet bandage is generously covered with salt.
- A new tour is placed on top of the salt.
- Salt is again poured onto the bandage, etc.
Such a bandage made of many layers of bandage and salt should be thick (at least 1 cm thick, preferably 1.5 cm). When wetted in water, the salt crystals will “stick” together, clogging the hole.
To make it easier to “spread” the salt, lightly moisten it with water. The consistency of the salt mass should resemble a paste.
Even if successful, in a day or two you will have to repair the pipe in a more effective way: the salt will dissolve with water, and the dressing will again begin to leak liquid. In general, the method is not very effective:
Method No. 4: Bandage with cement paste
Another method based on sealing with a hardening substance. As with the previous option, cementing will help if the water flows out in drops or oozes slightly, rather than gushing out under pressure.
To create a bandage you will need:
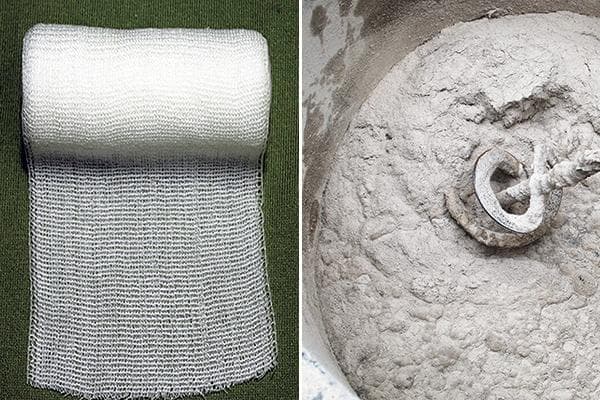
- a strip of fabric or gauze bandage (stripe length - at least 25 cm);
- a cement solution with the consistency of sour cream - soak a bandage with it before wrapping it around the fistula;
- a thicker cement paste for coating the bandage after wrapping.
The fabric is soaked in cement, and then the pipe is wound over the leak in several turns. Each round must be tightened tightly.A thick composition is spread over the wound bandage. The final thickness of the bandage must be at least 20 mm.
The method has several disadvantages. First of all, cement that has dried into a monolith will be difficult to chip away to repair the pipes. In addition, cement accelerates metal corrosion, which will lead to the gradual destruction of pipes under the bandage.
Method No. 5: Pipe tape
Silicone tape is a polymer material produced in rolls with a width of 2.5–3 cm. There is no layer of glue on silicone, but the material can stretch more than 2 times and then shrink back. This plasticity allows the patch to tightly cover the fistula site.
Silicone pipe tape seals leaks even on dusty or dirty metal. A properly applied bandage can hold back water rushing out under pressure of up to 5 bar. The tape should be wound tightly around the leak, with the turns overlapping by about half the width when wound.
Here's what can be said about the effectiveness of the method:
We hope that our article helped you understand how to deal with a leak in a pipe on your own. Good luck with your work!
