Quickly sew a fabric Christmas tree for the New Year - with my pattern it’s easy even for a novice needlewoman
A thorny evergreen tree decorated with elegant balls, cones and tinsel is an integral attribute of the winter holidays. In recent years, artificial Christmas trees made of fabric have become increasingly popular. Unlike real pine and spruce, it does not lose its appearance or crumble. It won’t be difficult for needlewomen to sew this element of New Year’s decor. With my pattern it's easy and fast!
What will you need to create a textile Christmas tree?
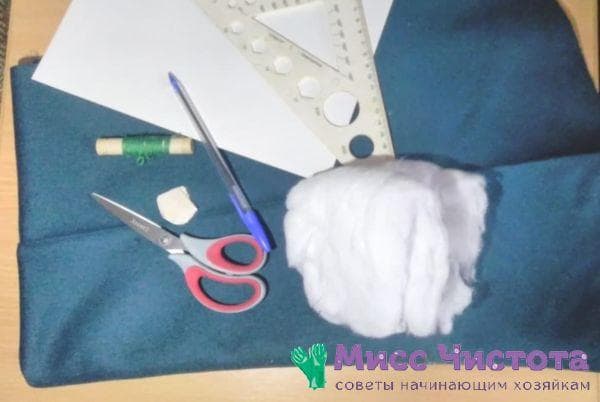
To make an artificial Christmas tree with your own hands, you will need to stock up on a set of materials and tools that every housewife can find. To create a Christmas tree you will need to take:
- thick fabric of the desired color;
- paper;
- ballpoint pen or pencil;
- tailor's chalk or soap with a sharp edge;
- a spool of thread to match the fabric;
- floss;
- scissors;
- a needle;
- filler like cotton wool or padding polyester.
Tips for choosing fabric
When choosing material for sewing a Christmas tree, give preference to thick woolen fabric. Ideally, it should be felt, cashmere, drape, or overcoat cloth. A product made from such material will keep its shape well, look expensive and beautiful.
In the absence of felt and cloth, you can get by with simple cotton material. This option is more suitable for a beginning needlewoman or for a child who will make crafts with his mother.
It is preferable to choose the color of the fabric close to the natural color of the spruce.A Christmas tree made of dark green, gray-blue, gray-green material will look beautiful. A textile Christmas tree made from red fabric or material with a pattern has an original look.
How to decorate?
You will need to decorate the finished textile tree. For this purpose, the following materials are applicable:
- beads;
- beads;
- costume jewelry (earrings, bracelets, beads);
- rain;
- ribbons;
- miniature Christmas tree toys.

A Christmas tree decorated with artificial snow will look beautiful. It can be successfully replaced by crushed polystyrene foam, granulated sugar or semolina.
How to make a pattern for a Christmas tree?
The first step in sewing textile spruce is creating a pattern. You can use a ready-made sketch taken from the Internet. However, a product sewn using a homemade pattern will look more interesting.
It won't be difficult to do it. Follow my simple instructions:
1. Place a blank sheet of paper on the table.
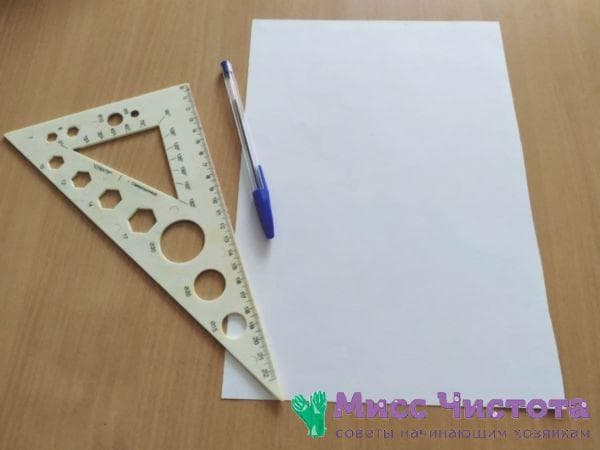
2. Fold it in half.

3. Draw a Christmas tree in profile by hand or using a ruler, starting from the fold line.
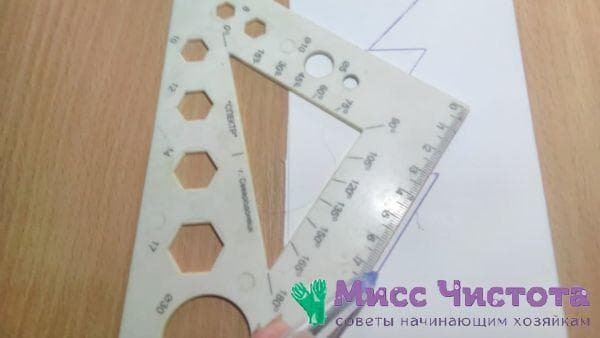

4. Cut out the painted spruce with scissors.

As a result, you will get a symmetrical tree with identical edges.
When creating a sketch, you can give any shape to the branches. They can be pointed or rounded, straight or curved up. The upper branches should be smaller in size than those located below them. The largest scope is at the lower tier.
It is easier to sew a Christmas tree using a simple pattern from heavy, dense fabric. Curved upward, rounded branches are a more complicated option. In this case, thin cotton material is more suitable for sewing.
You choose the height and size of the New Year's tree at your discretion.
Sewing spruce from fabric
Beginning needlewomen who don’t know how to make a Christmas tree using a pattern will need to transfer the sketch to fabric and cut out the details. Then all that remains is to sew them together and fill the product with filler.
The procedure for sewing textiles is as follows:
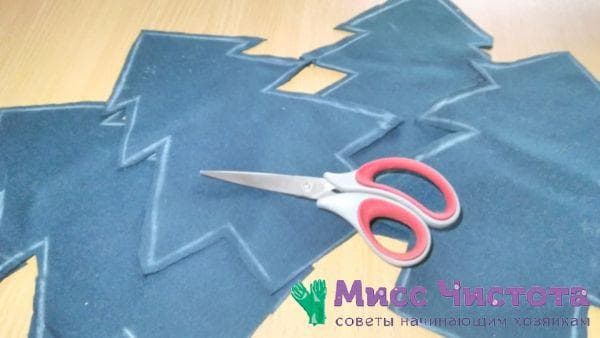
1. Place the material on the table. Smooth it out so there are no wrinkles.
2. Place the cutting on the fabric and trace it around the edge with chalk or soap.
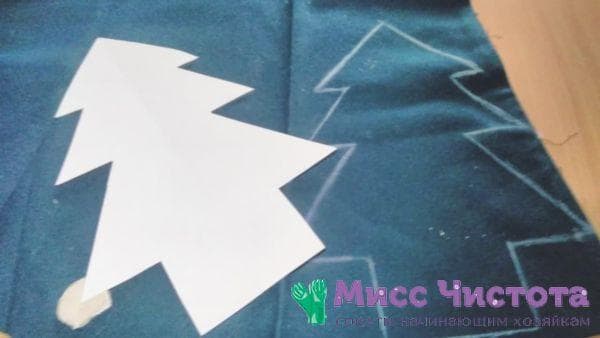
3. Repeat the action 3 more times. The result should be 4 identical parts. However, if you want the tree to look fluffier, make not 4, but 6 or 8 blanks.
4. Cut out the fabric pieces with scissors. Make a small allowance along the edge.
5. Break the resulting blanks into pairs.

6. Place each pair next to each other and sew. Leave the bottom of the workpiece unsewn so that the product can be stuffed with padding polyester.
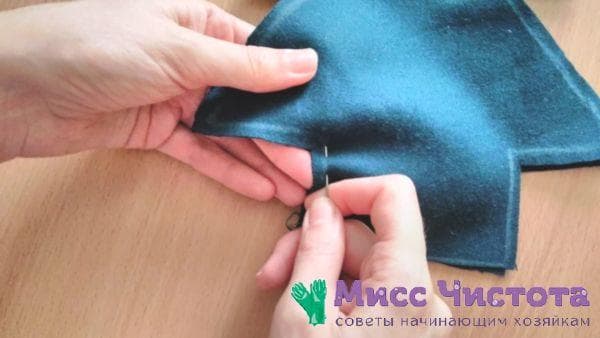
7. Overcast the workpieces along the edge with a buttonhole stitch, using floss threads of a contrasting color for this purpose. Using this technique, you will not need to turn the sewn product inside out, which is quite difficult if it is made of felt or other dense fabric.
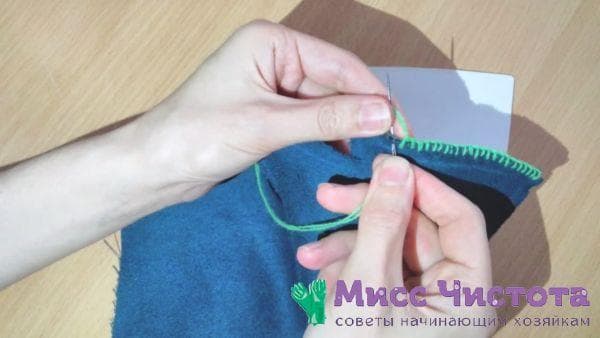
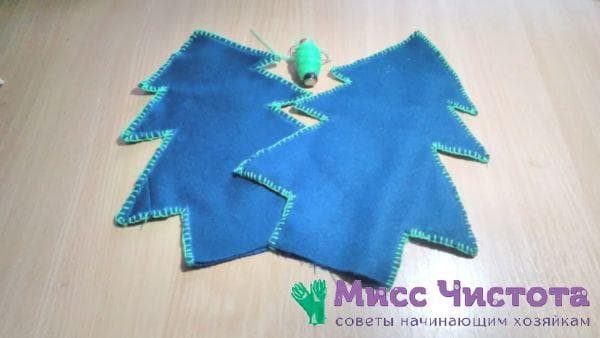
8. Place the resulting 2 parts together. Sew them together along the center center line (bottom to top).

9. Fill the resulting flat Christmas tree with filler.

10. Having completed the stuffing, sew the lower part of the product with a blind stitch.
Decoration
The finished textile spruce will only need to be decorated. Decorate your homemade tree to suit your taste. Flights of fancy are welcome!
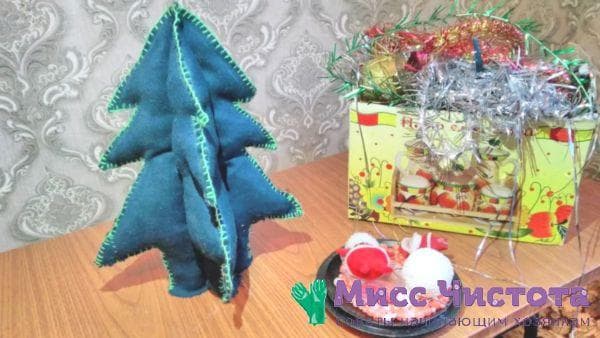
Be sure to attach an elegant bow, large bead, star or rhinestone to the top. Sew beaded garlands, miniature Christmas tree decorations to the branches, or use jewelry for decoration. Decorate the textile tree with rain or sprinkle with artificial snow.

A homemade Christmas tree planted in a flower pot and decorated at the bottom with cotton wool imitating snowdrifts looks more decorative. It would be appropriate to complement the composition with a figurine of Santa Claus or a snowman.
Sewing an unusual Christmas tree from fabric with your own hands is not as difficult as it might seem at first glance. With a little effort and imagination, you will get an original piece of New Year's decor that will make your home feel festive and cozy.