Shoes will no longer be lying around in the closet - make a simple organizer
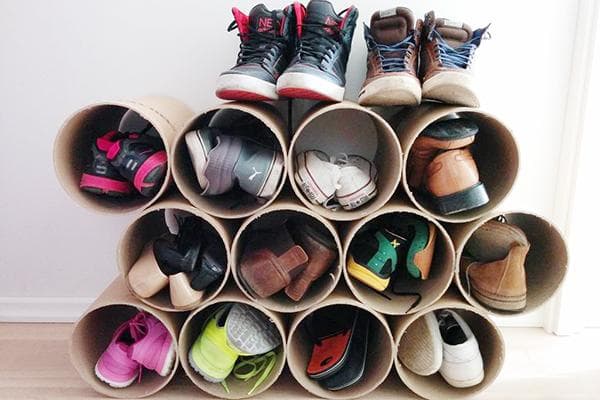
Organizing storage is a very useful thing. And you don’t have to run headlong to Ikea to buy a suitable organizer. A little ingenuity, a pinch of hard work - and literally out of nothing you can build a “honeycomb” for shoes. It won't be lying around in the closet anymore!
Shoe storage device
Each housewife has her own approach to storing shoes. One puts each pair in a branded box. Another uses organizers, all kinds of drawers and baskets. But it also happens that shoes just sit in the closet. And if there are a lot of pairs, then it lies there.
A small organizer will help radically change the situation. You need to make “honeycombs” - cells for each pair. And then order will reign in the shoe closet. Making the device will not take much time - only 40-60 minutes spent usefully. You can listen to your favorite TV series (music).
Option No. 1 – organizer made of cardboard boxes
You probably have a forgotten box of household appliances in your home. If not, you can get a couple of cardboard boxes from your local store. Usually no one needs them, and sellers throw them away.
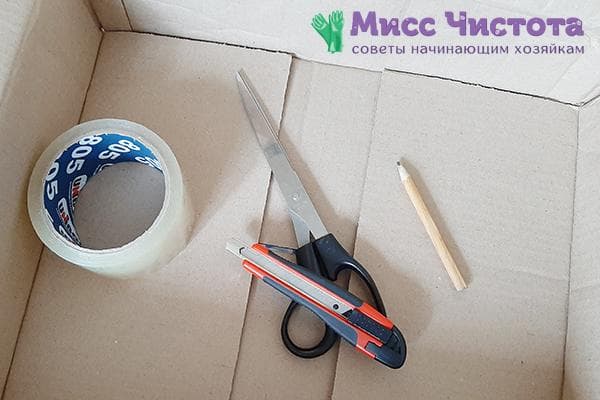
So, to make honeycombs for shoes you will need:
- carton boxes;
- scissors;
- stationery or regular tape;
- Ruler and pencil;
- colored tape (optional).
What do we have to do:
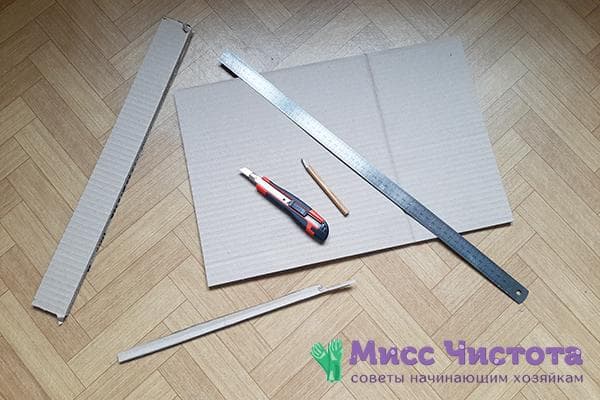
- We cut the box into rectangles measuring 42x28 cm. The number of rectangles depends on the number of shoes. For one pair you will need two such cardboards.
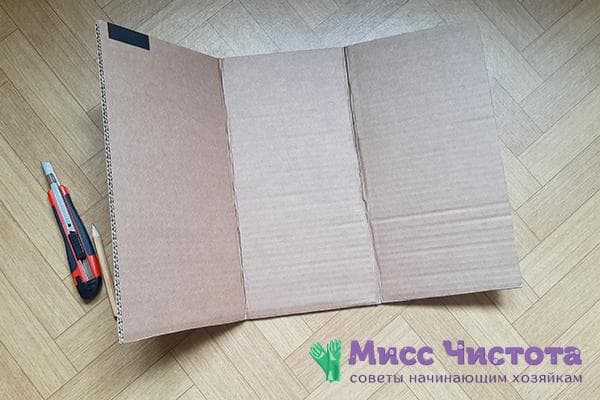
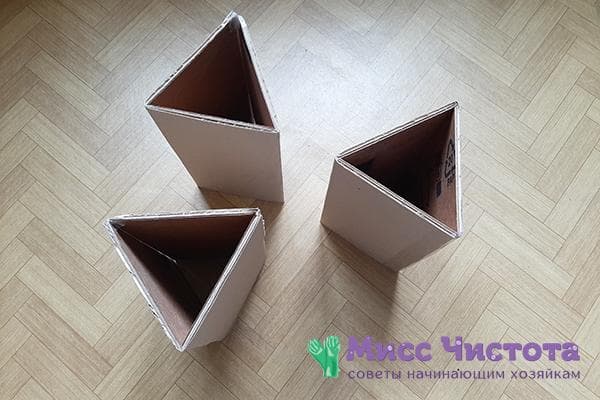
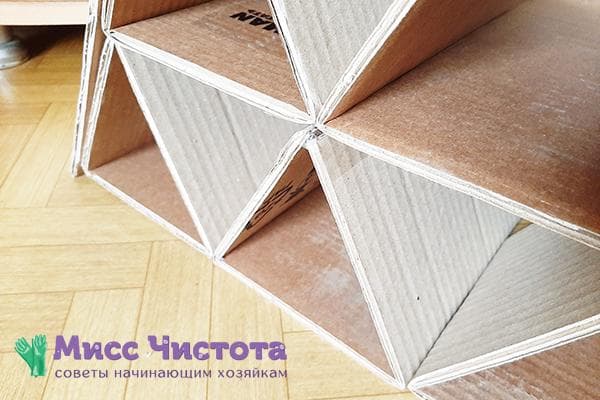
- Take each rectangle and measure 14 cm along the long side. We put a ruler and bend it. Again measure 14 cm and bend it. You will get something like this:
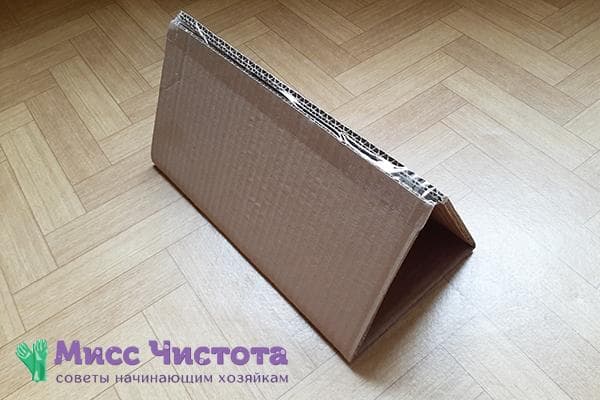
- Glue the edges of the rectangle with tape. The result is a triangular cell.
- To prevent the edge from delaminating, it can be covered with plain or colored tape.
- We prepare the required number of cells.
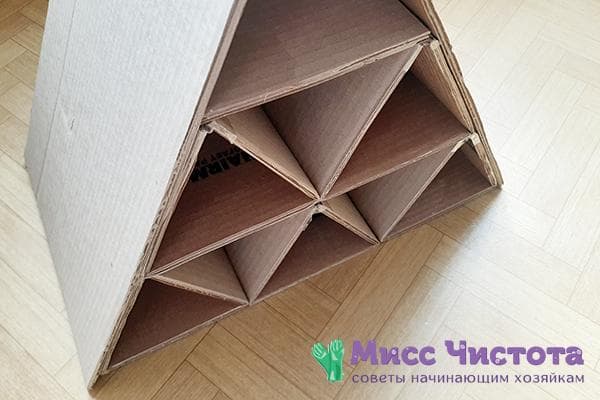
- We put them together (to match the size of the cabinet).
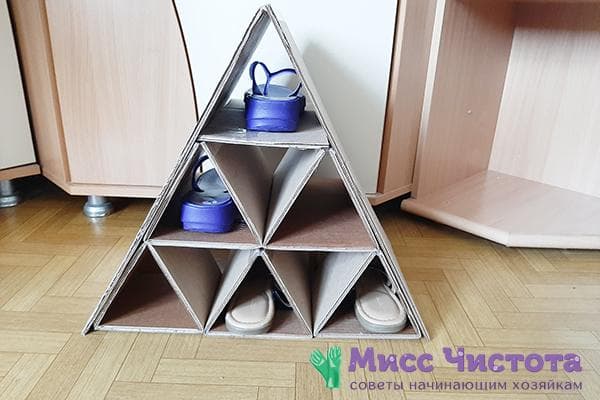
- We wrap it around the circumference with tape for security. You can line up small triangles into a large one and cover it with a cardboard “roof”.
- We arrange the shoes.
How to wash a cardboard organizer, you ask? No way. After some time, it will have to be taken to a landfill. Considering the penny price of the device (the cost of tape), you can easily afford to make new cells once a season.
Option No. 2 – bottle organizer
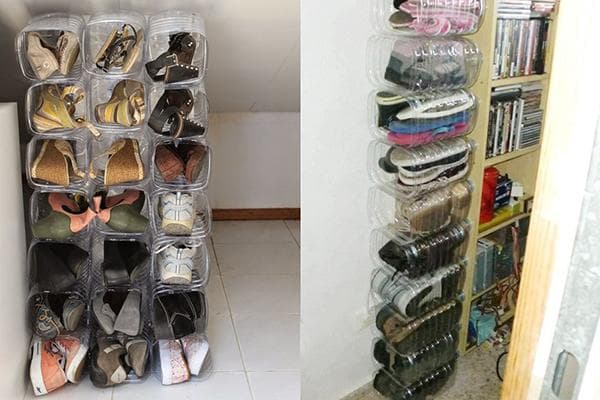
Plastic bottles are perfect for making cells. This type of organizer can be washed under the tap and will last longer than a cardboard one.
For production you will need:
- a dozen eggplants 4–5 l (1 piece per pair of shoes);
- stationery knife;
- hot glue or tape;
- a lighter with a long spout or a candle.
Making a shoe organizer:
- Cut off the narrow part of the bottle with a knife.
- Lightly melt the cut edge with a lighter or candle until smooth.
- Coat one side of the eggplant with hot glue and glue the second bottle. This way you can glue a square, rectangle or pyramid.
- If you have tape, then it is better to first connect two bottles, and then wrap the entire structure.
- Ready!
The bottle organizer can be refined by painting it with spray paint.
A homemade organizer is ideal for storing shoes in the country, in a work utility room, or in an apartment. The design can be hidden in a closet or simply placed in the hallway. With this storage method it does not wrinkle. And you can easily find the right pair. You don’t have to rummage through the entire closet or, even worse, take out all the boxes and look into them one by one.
